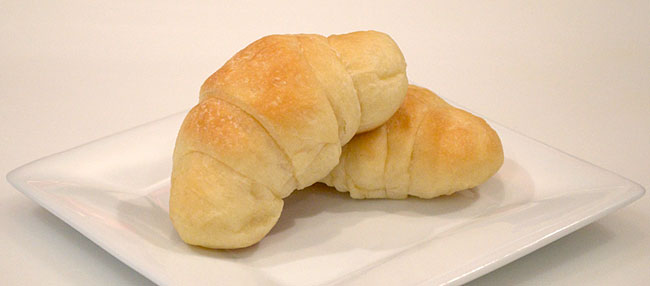
Grandma Coombs’ Rolls
These are without a doubt some of the best, if not the best, rolls I have ever eaten. I may be biased, they are a family recipe and tradition, however, even the in-laws love them. My dog follows me around when I’m eating them, hoping for crumbs. Mark eats them despite his gluten intolerance. The stomach ache is worth it. A holiday around our house would not be a holiday without Grandma Coombs’ Rolls.
These rolls make great sandwiches. I like to cut them in half, lightly butter them, and place them under the broiler for a few minutes to make them crispy and warm. Egg and cheese sandwiches make a great breakfast with these.
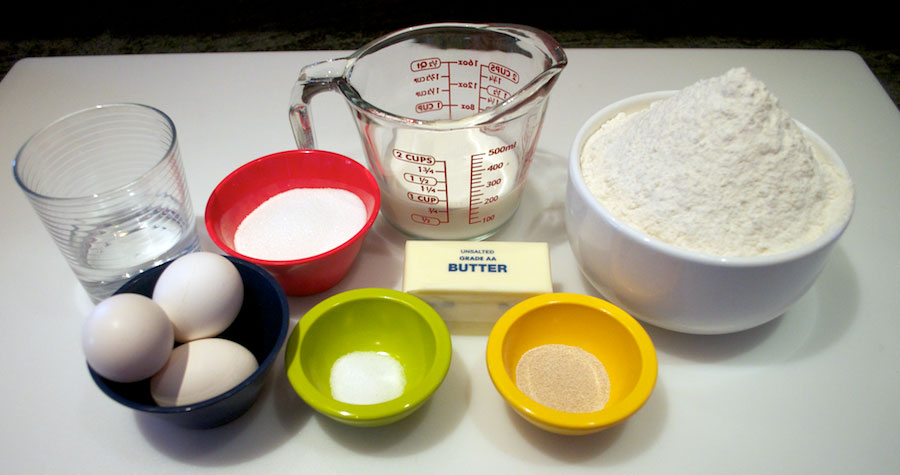
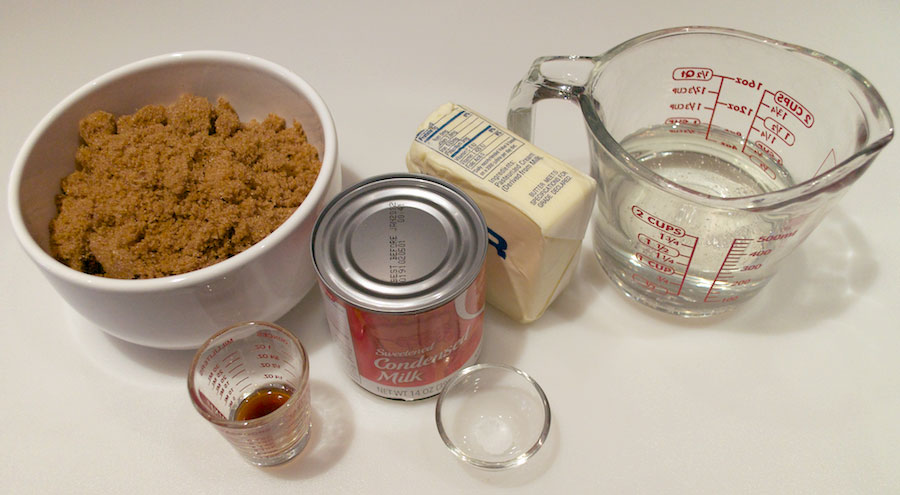
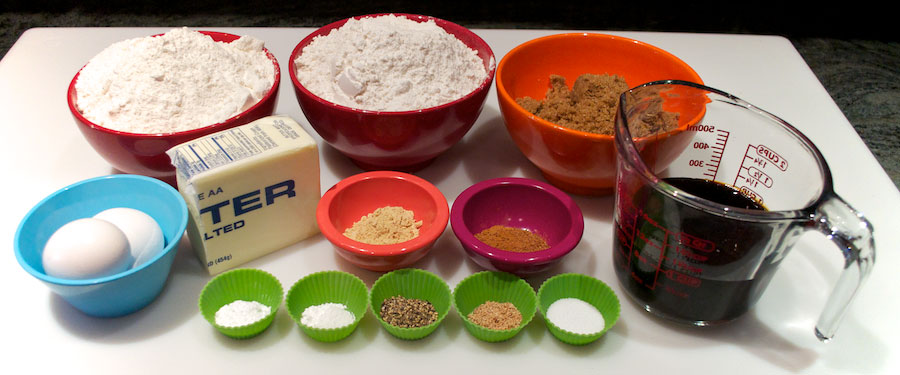
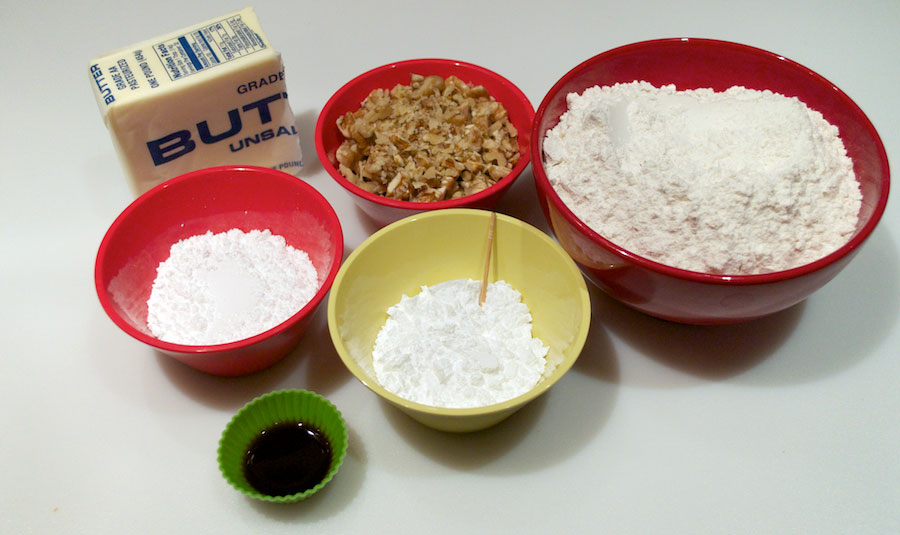
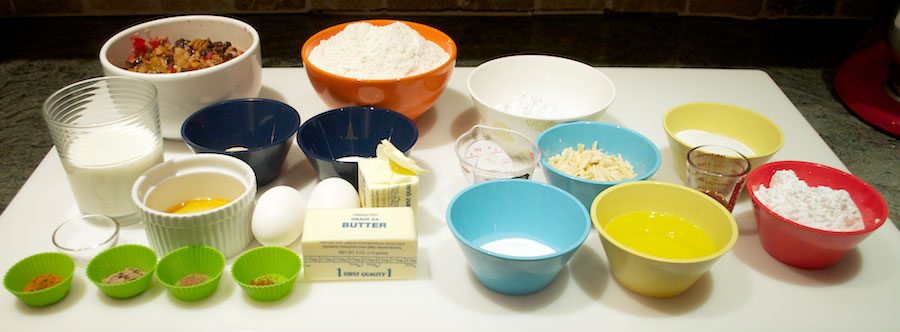
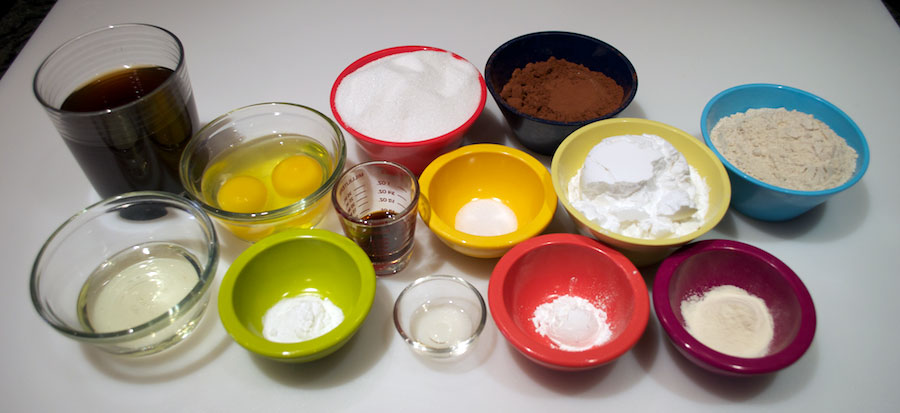
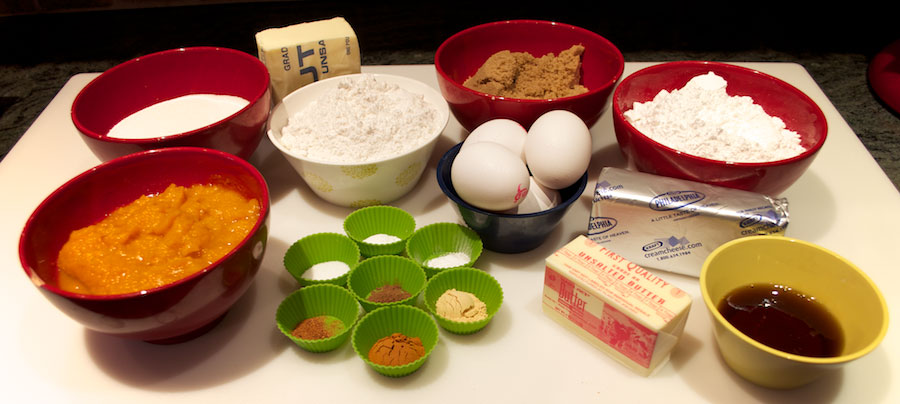
The recipe and detailed instructions are at the end of this post. For this recipe we need Active Dry Yeast, Water, Butter, Milk, Sugar, Salt, Eggs, and Flour (Bread or All Purpose). Looks like we have it all. Ready, set, bake…
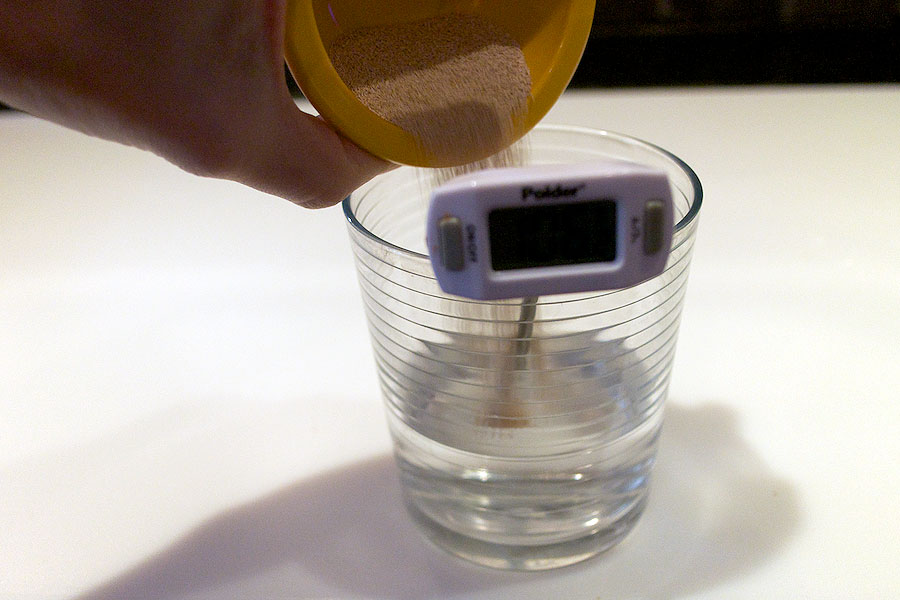
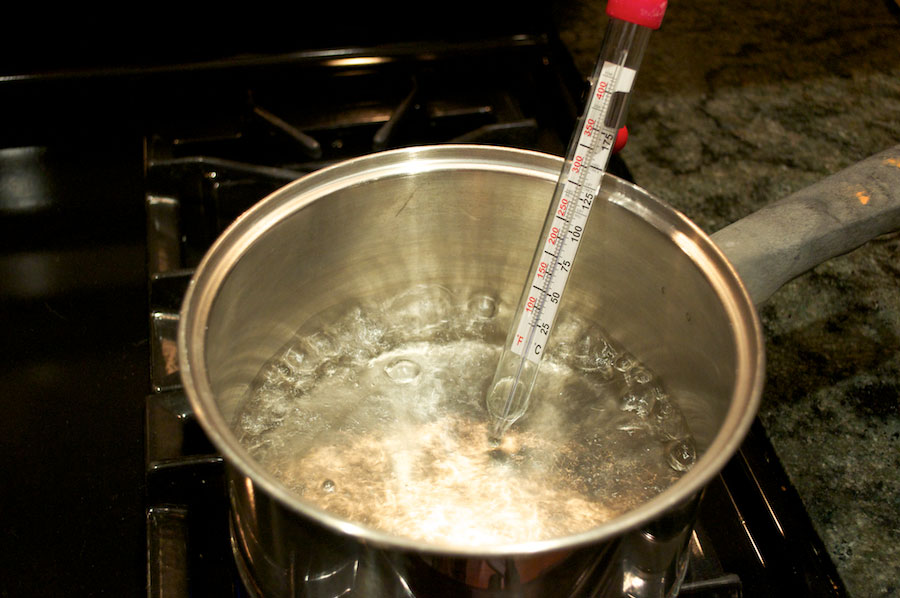
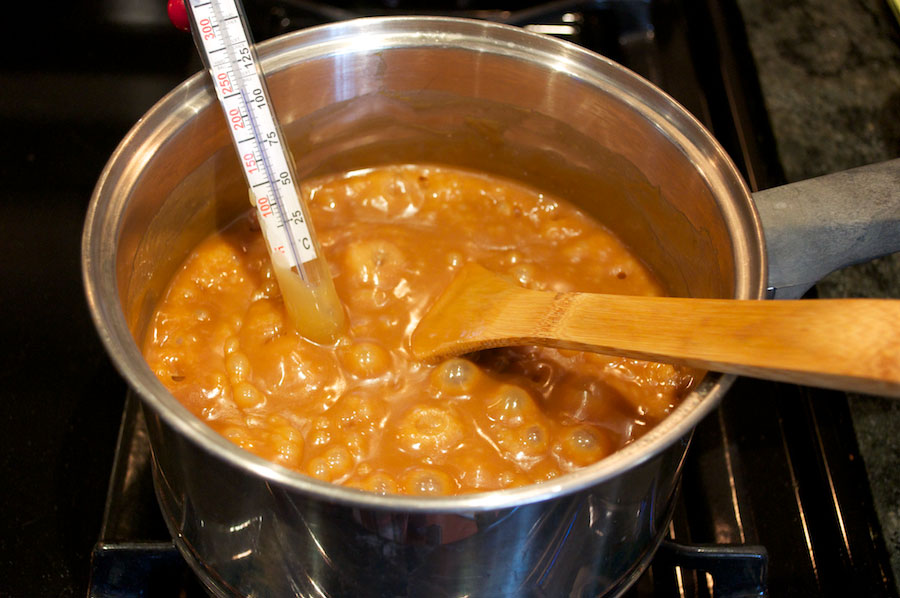
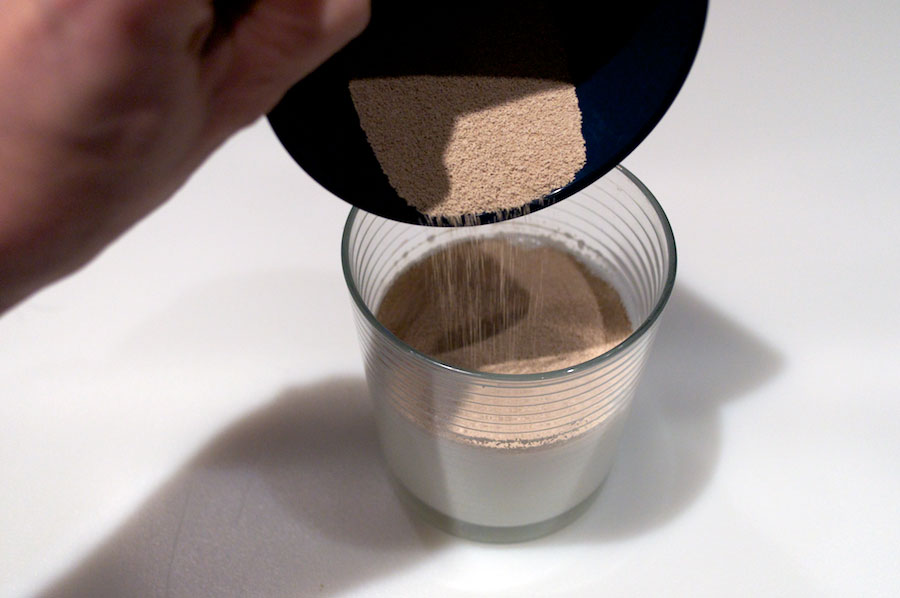
Combine the warm water (105°-115°F) and Yeast. Set aside. You don’t want to get your water hotter than 115°F or you yeast will not work properly. Likewise, you don’t want your water cooler than 105° or your yeast won’t rise or will rise very slowly.
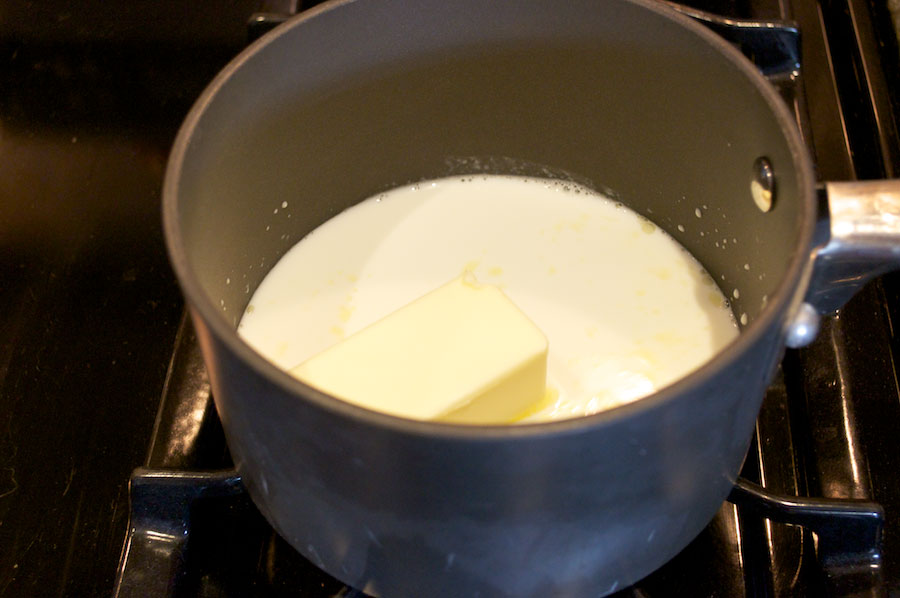
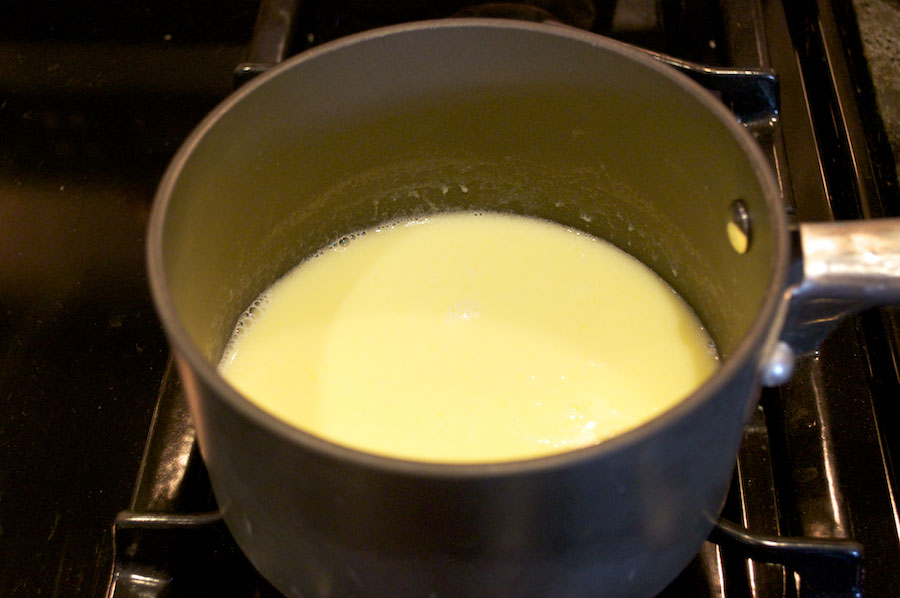
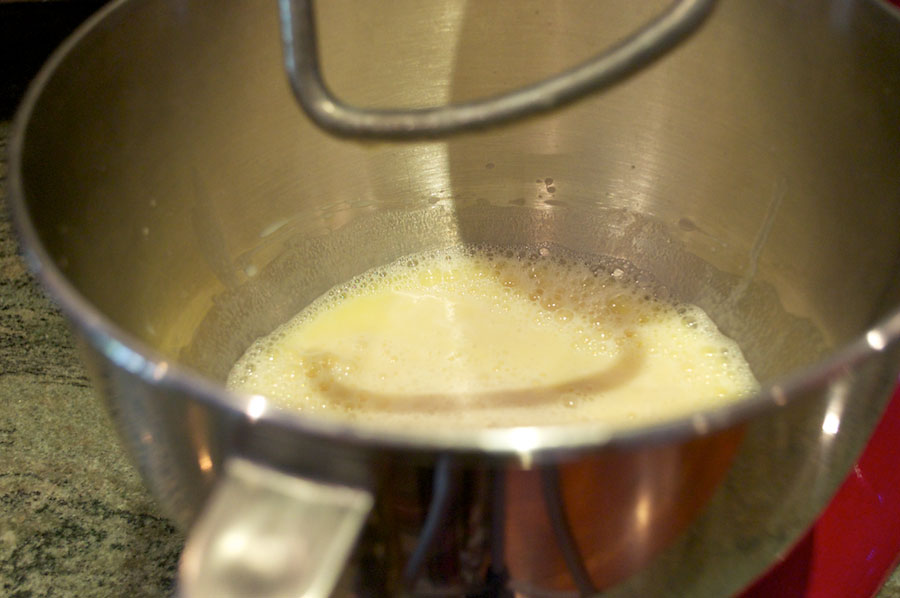
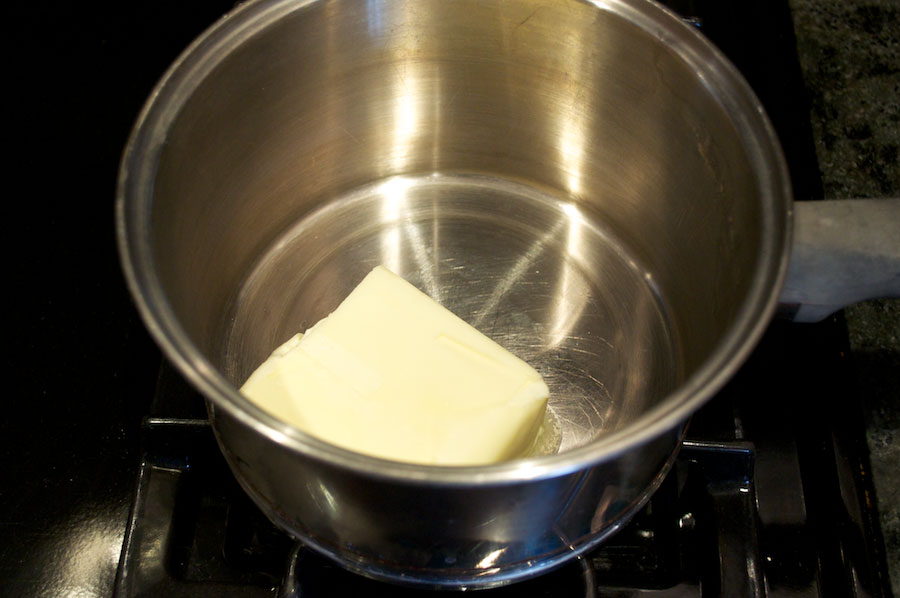
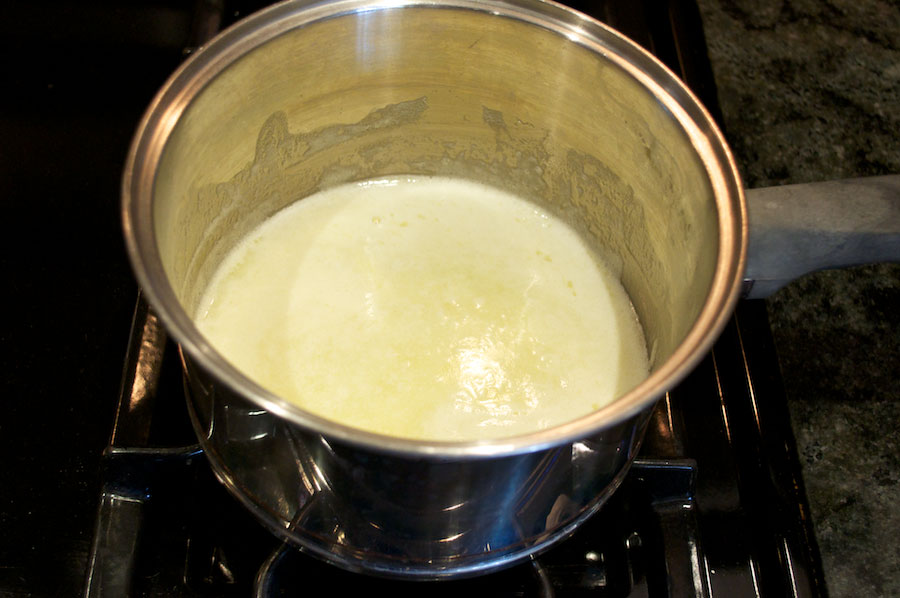
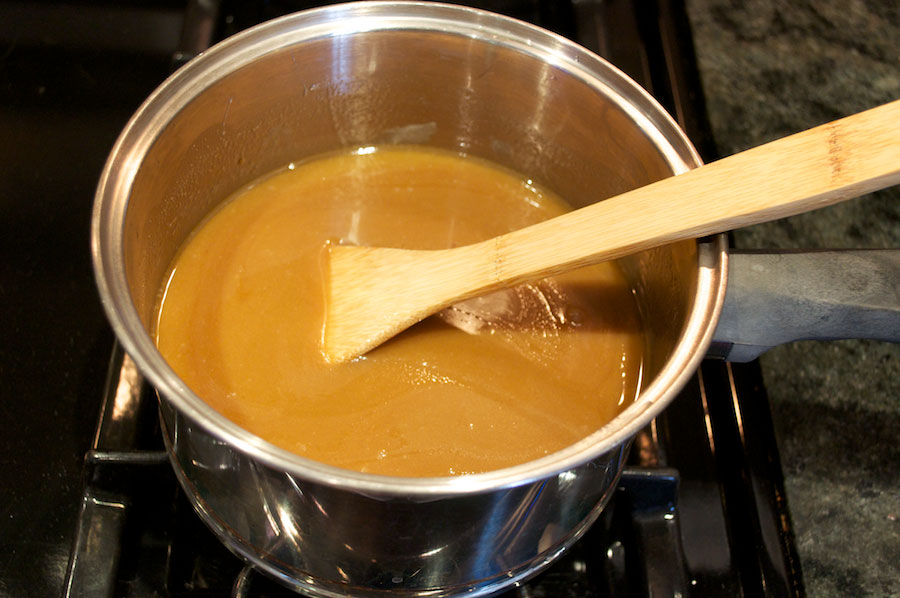
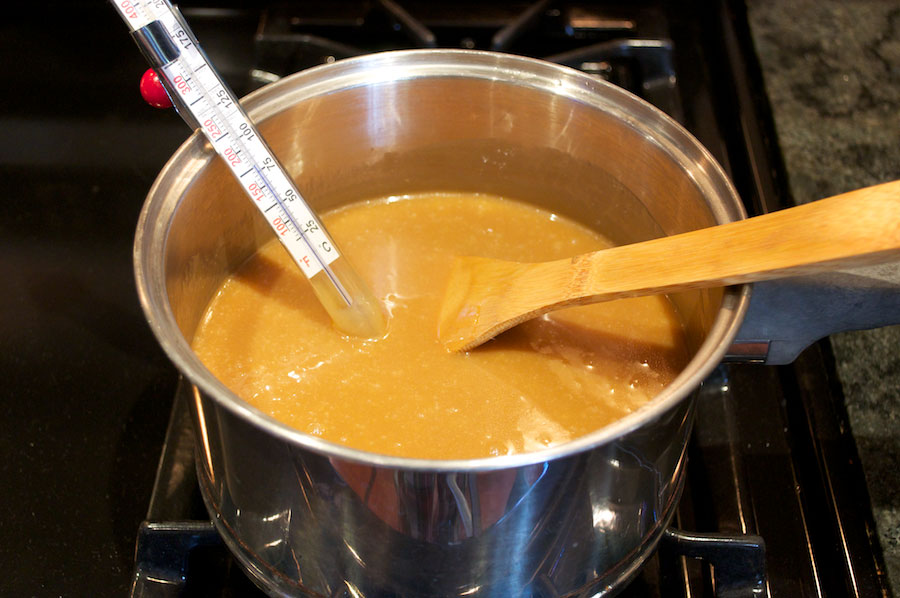
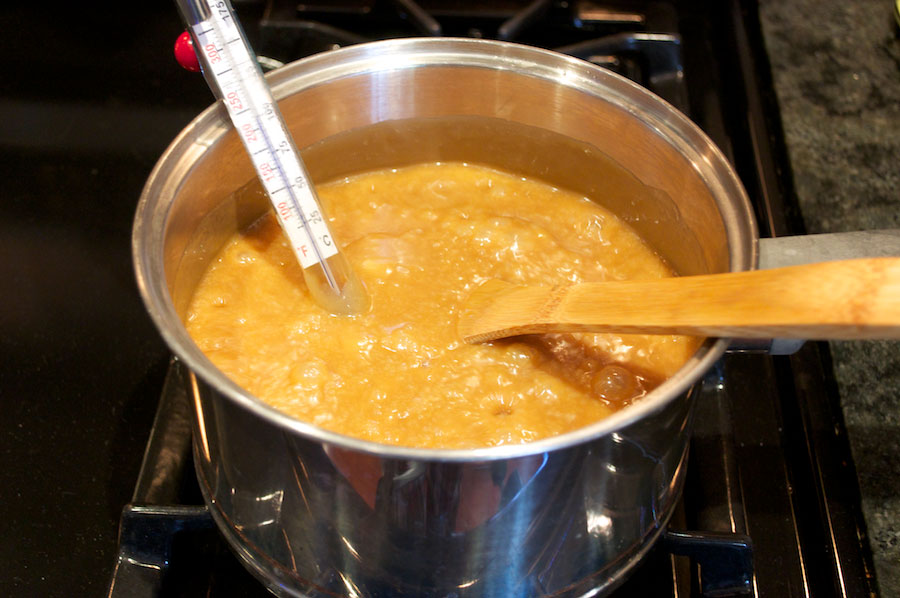
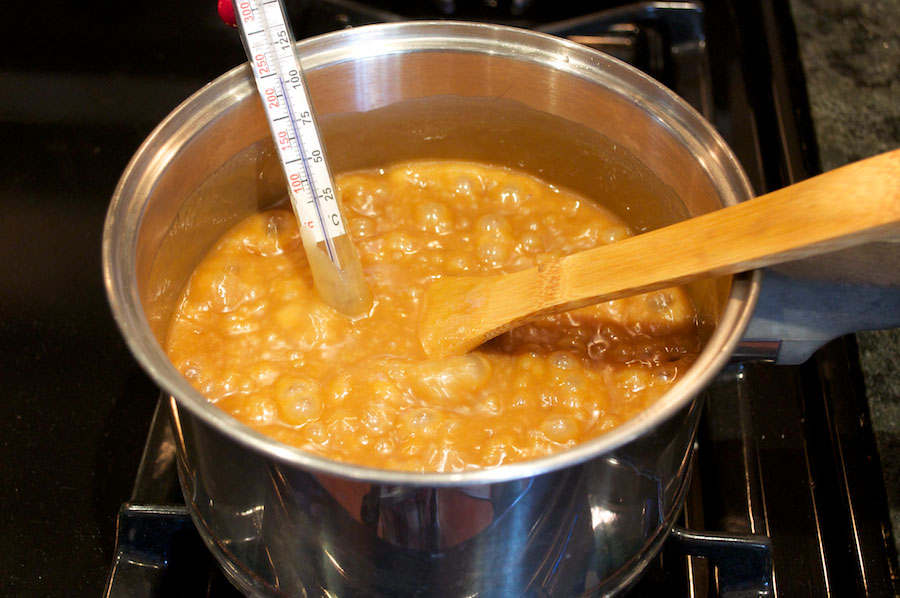
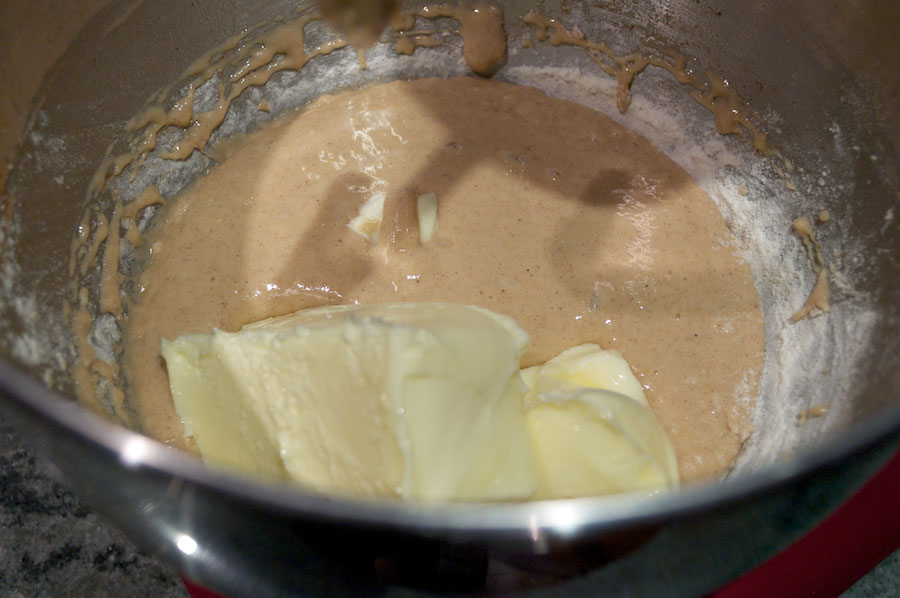
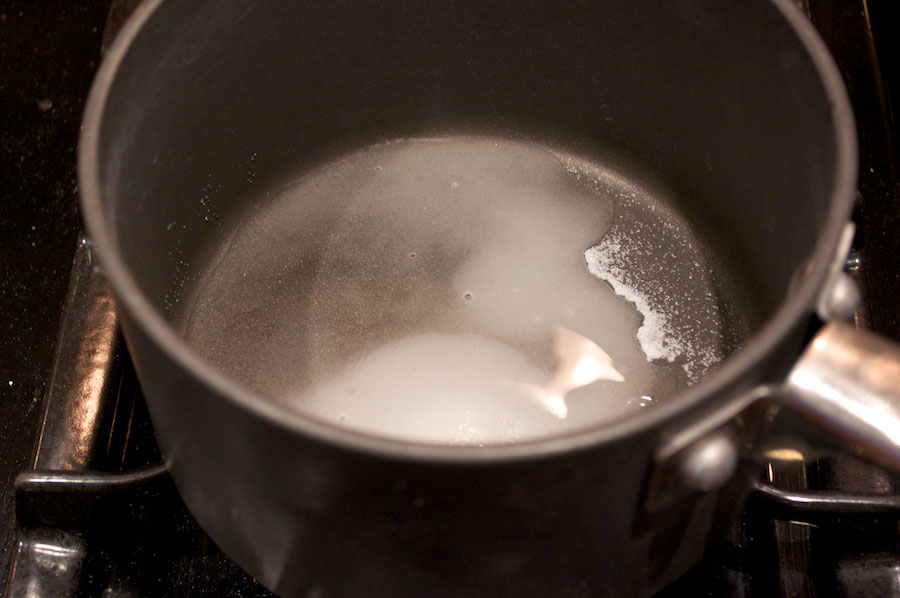
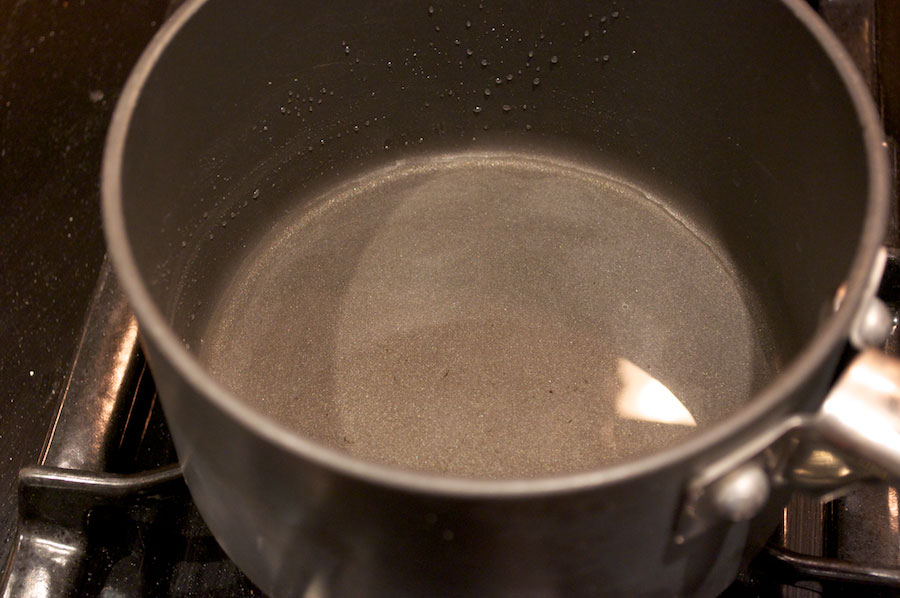
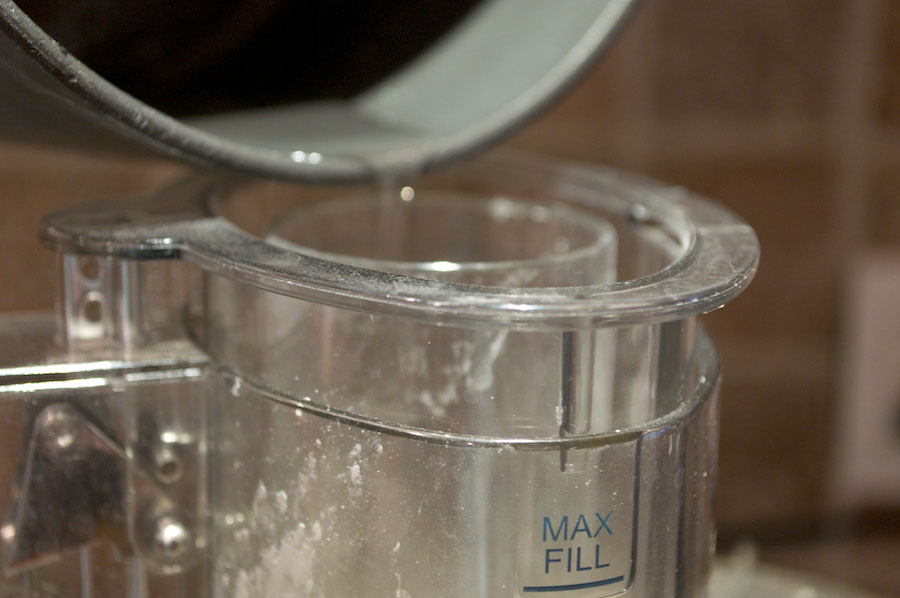
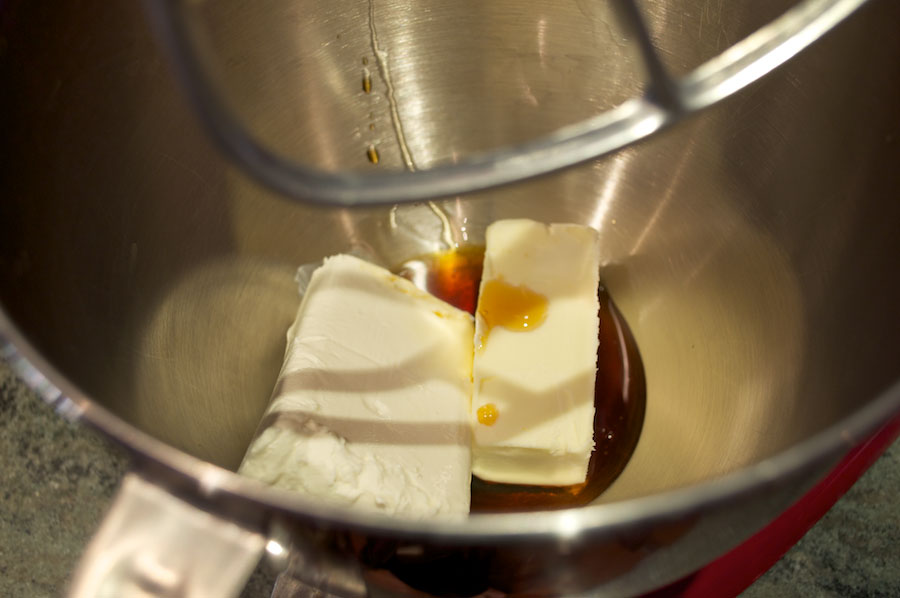
Combine the butter and milk in saucepan over medium heat. Stir until the butter has melted and remove from heat and allow to cool to lukewarm, do not boil. This step is here because in the old days the milk was raw and needed to be cooked to kill off bacteria. You could skip it all together and just and the butter and milk, both at room temperature, to the mixture. I prefer the old method, I find the warm milk and butter helps with the raising process. You can use salted butter and any low fat or fat-free milk with good results (I prefer the full-flavored fat filled products). Stir until the butter has melted and remove from heat and allow to cool to lukewarm. It must cool to under 115°F or it will kill the yeast when added to the mixture later.
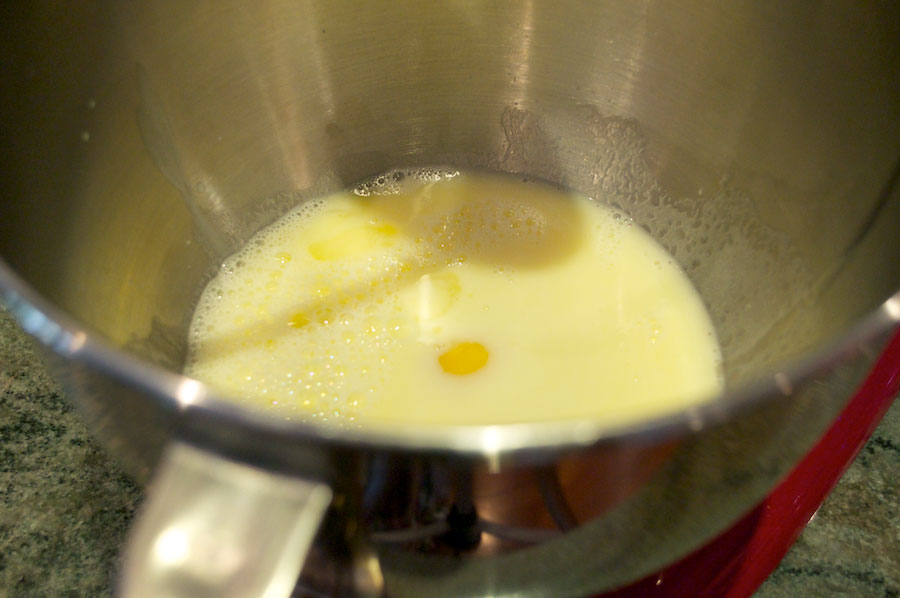
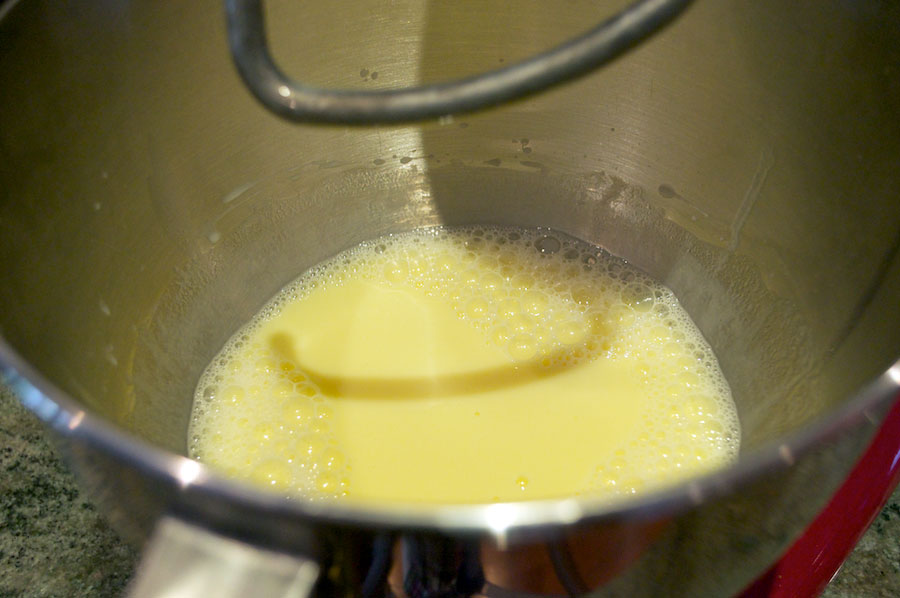
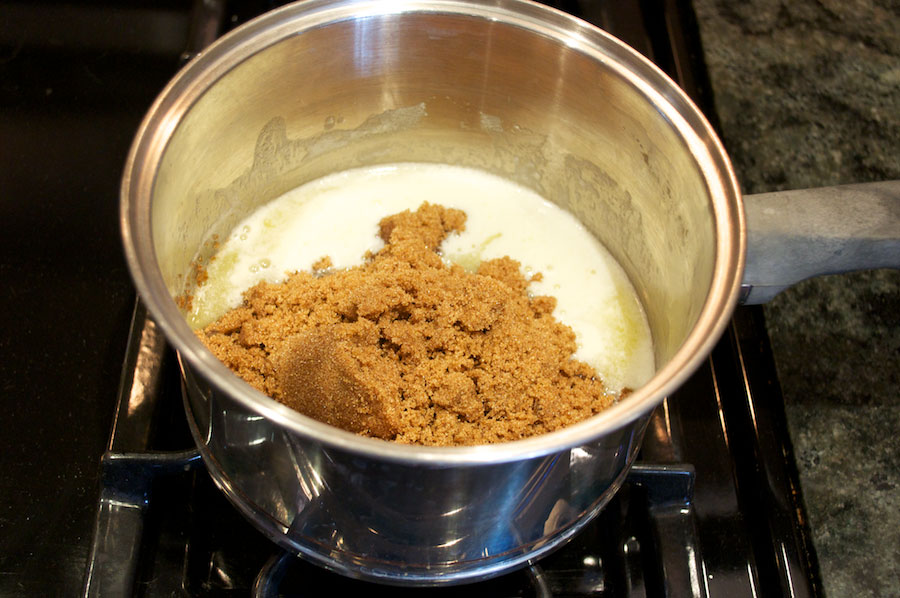
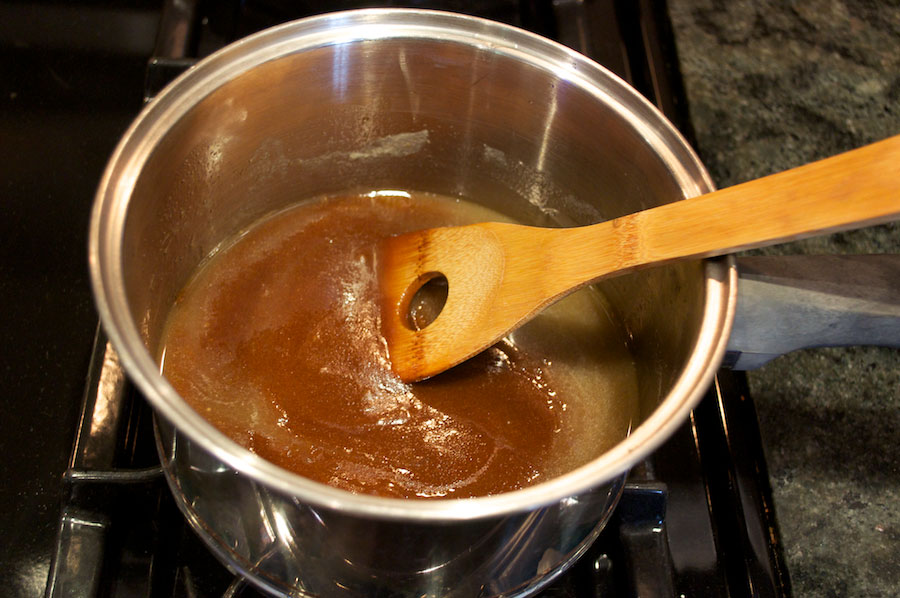
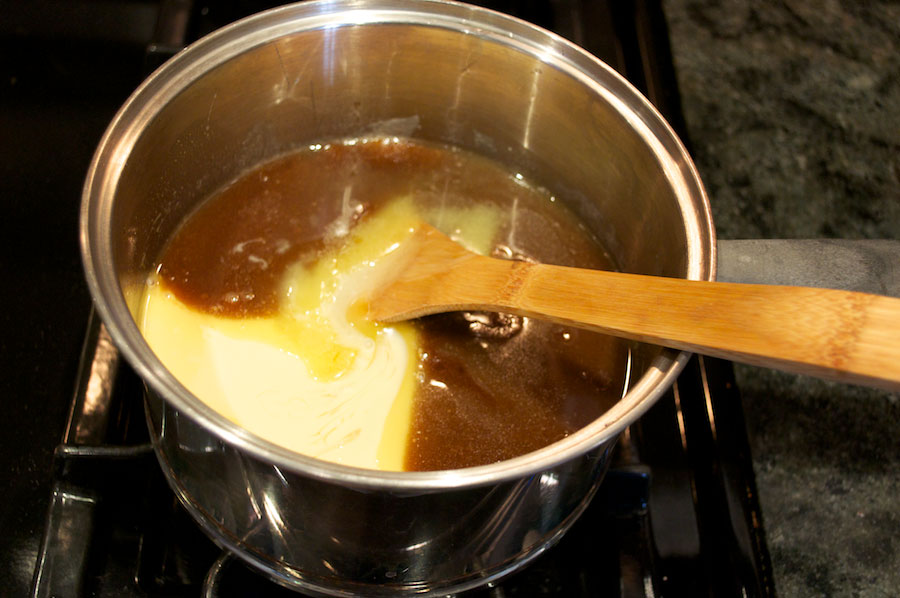
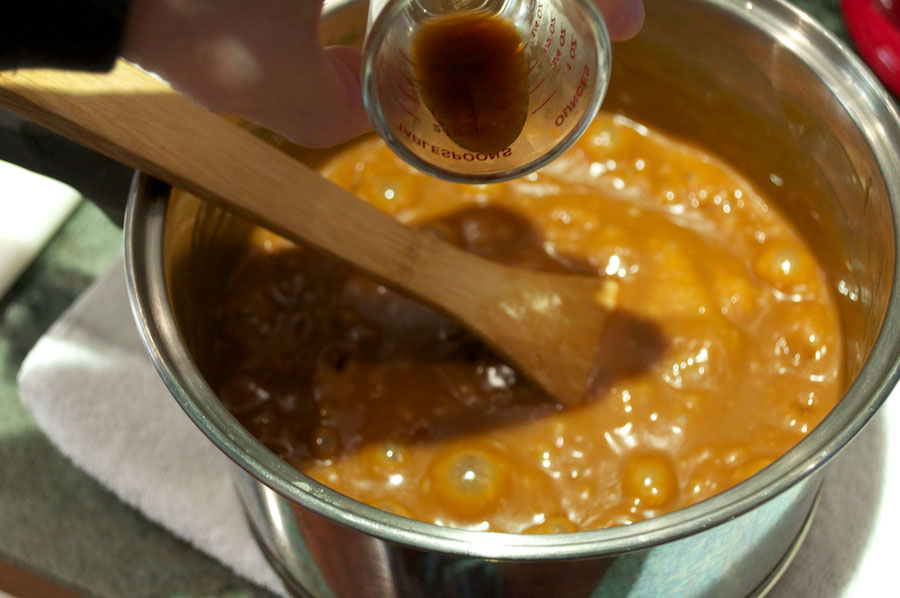
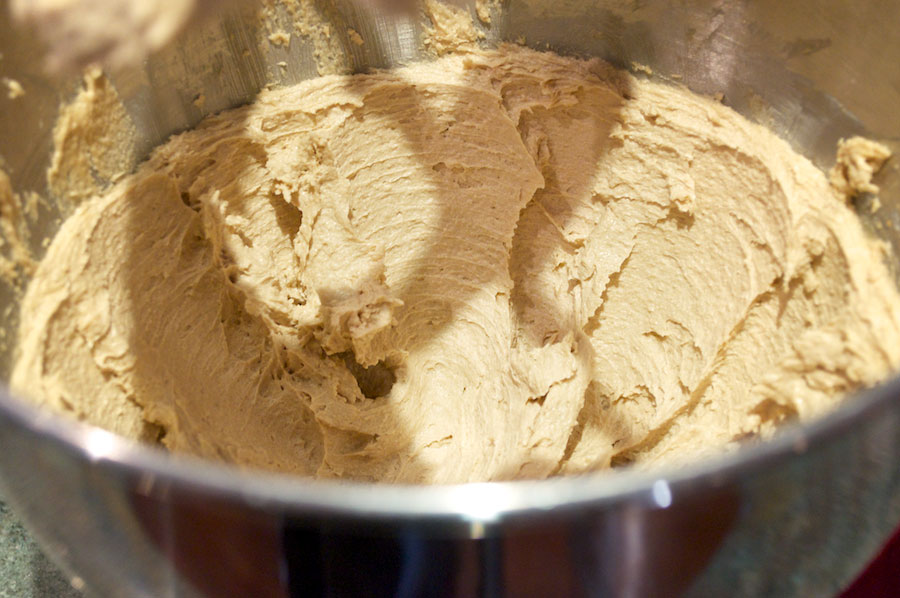
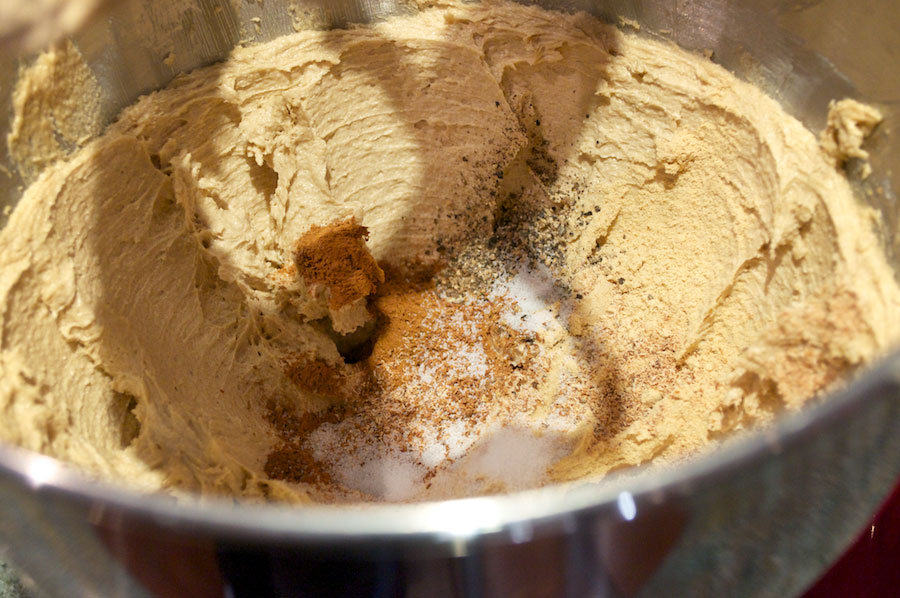
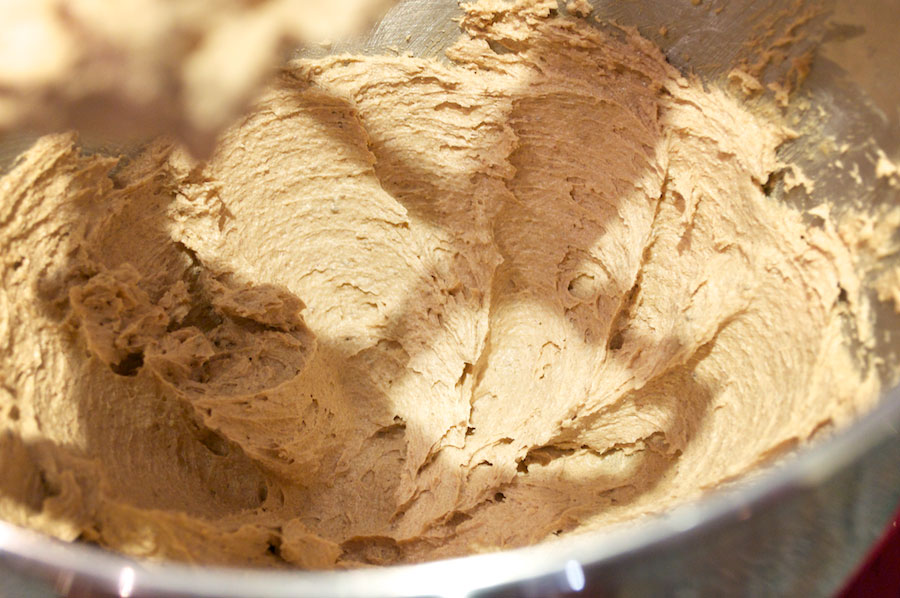
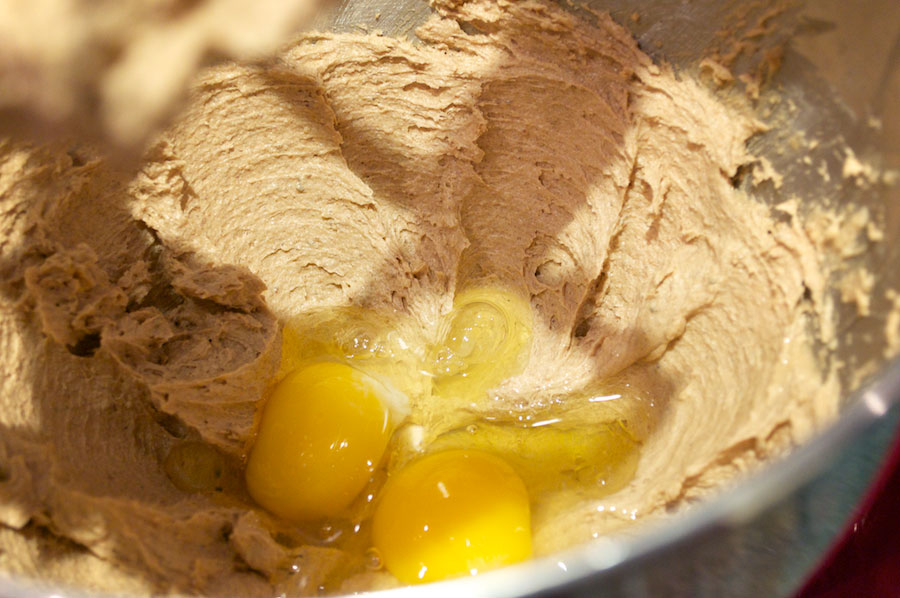
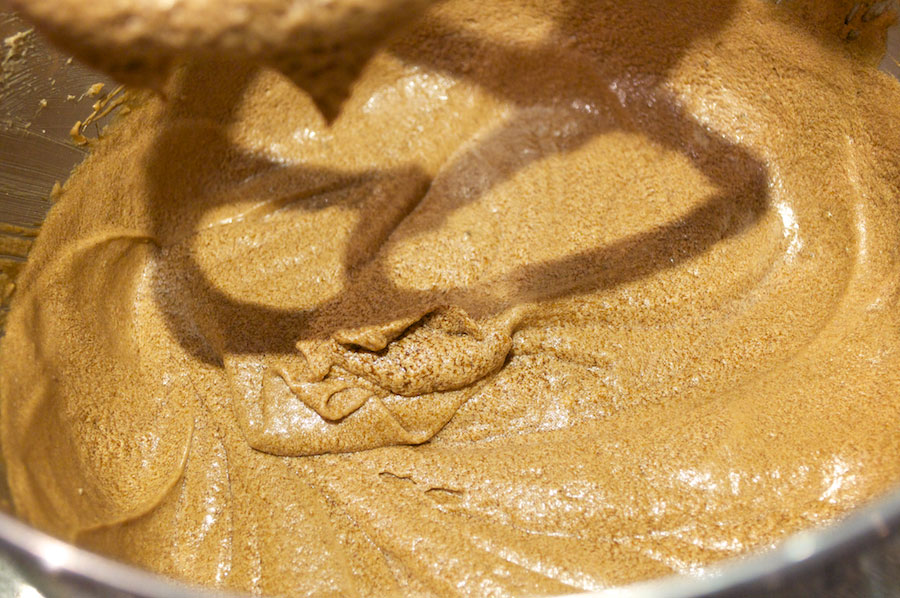
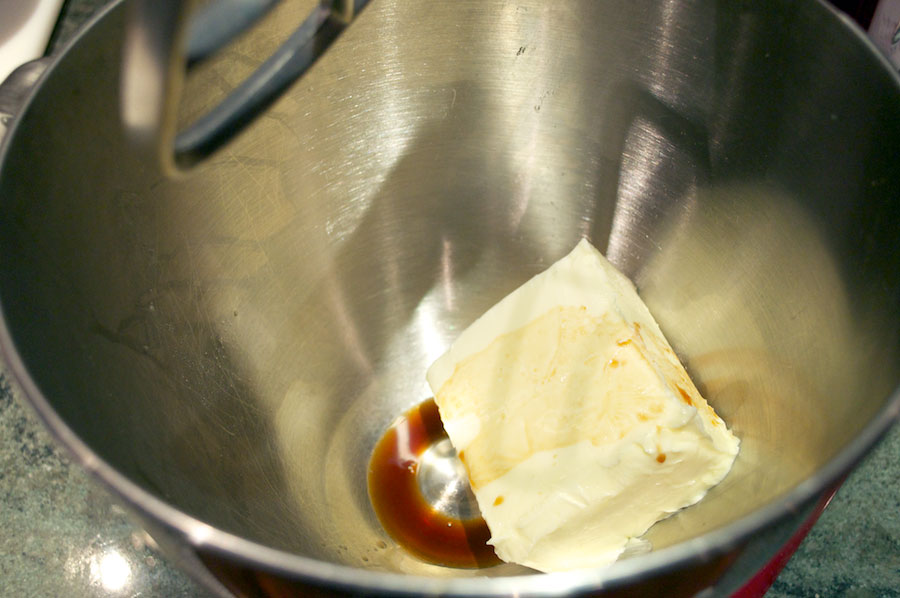
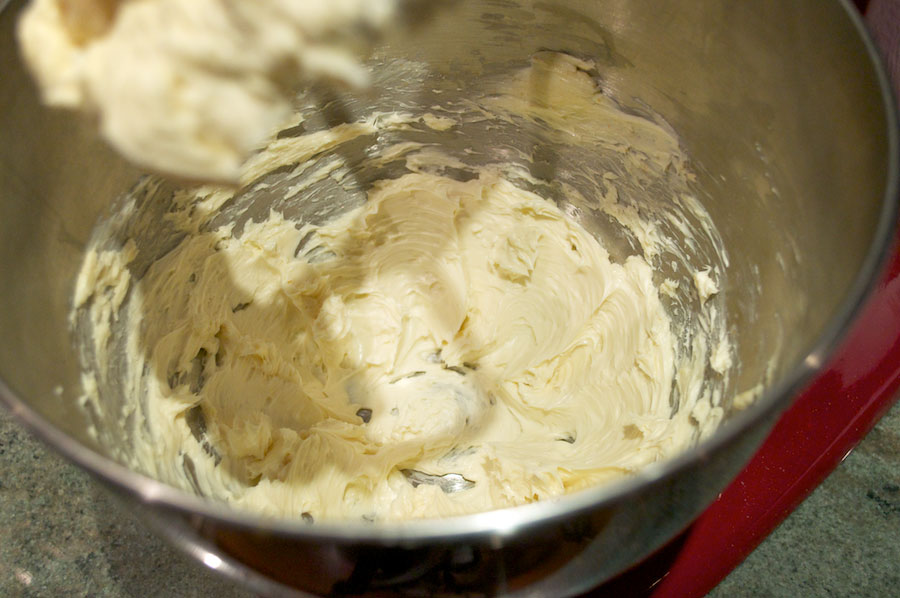
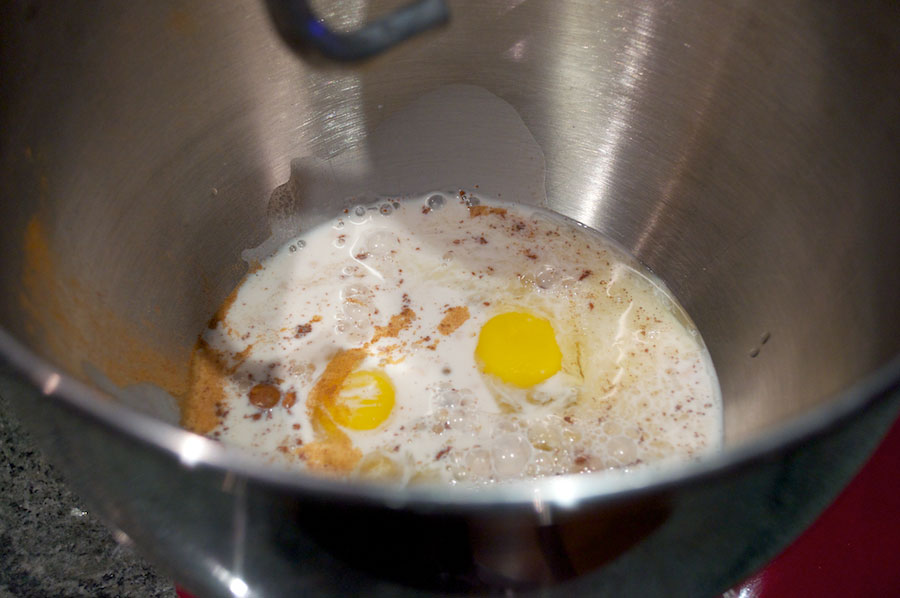
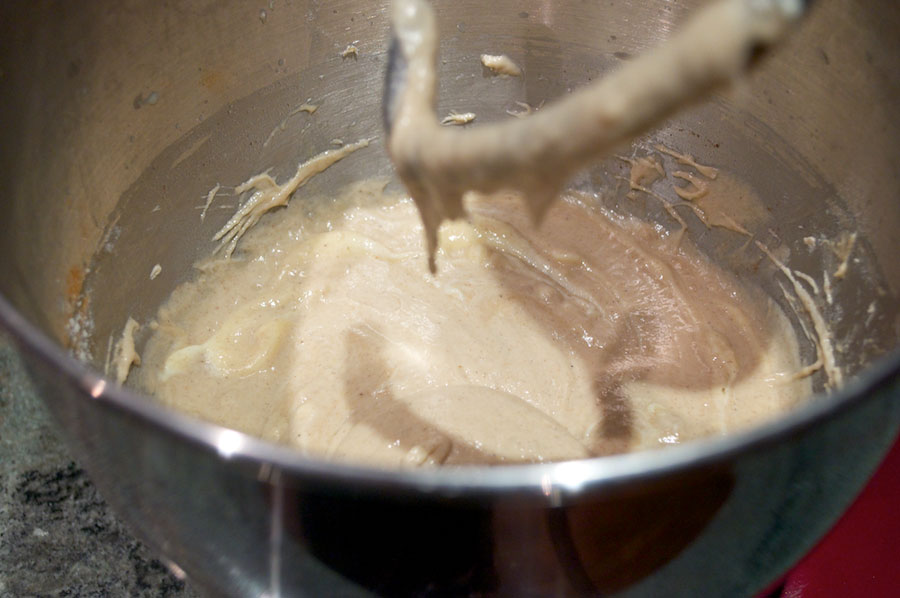
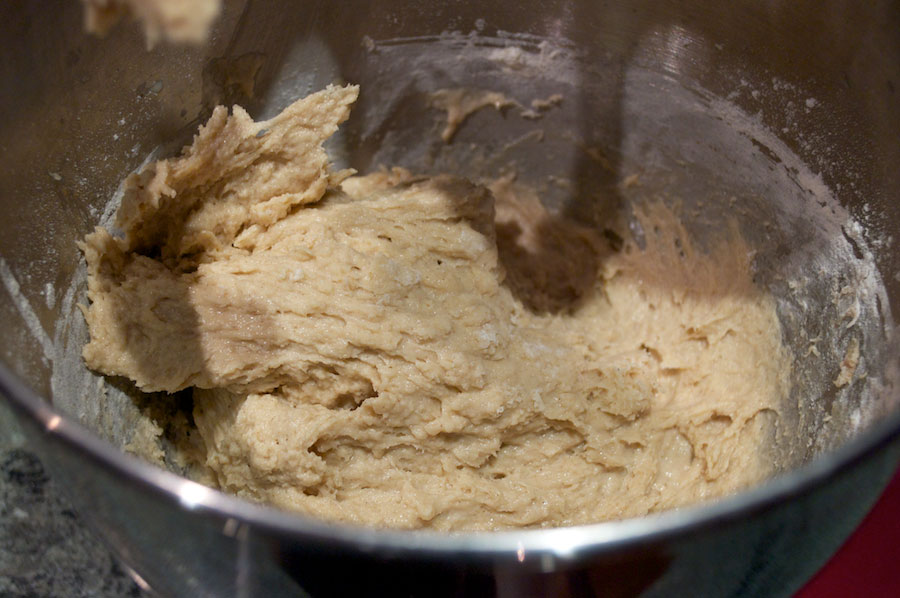
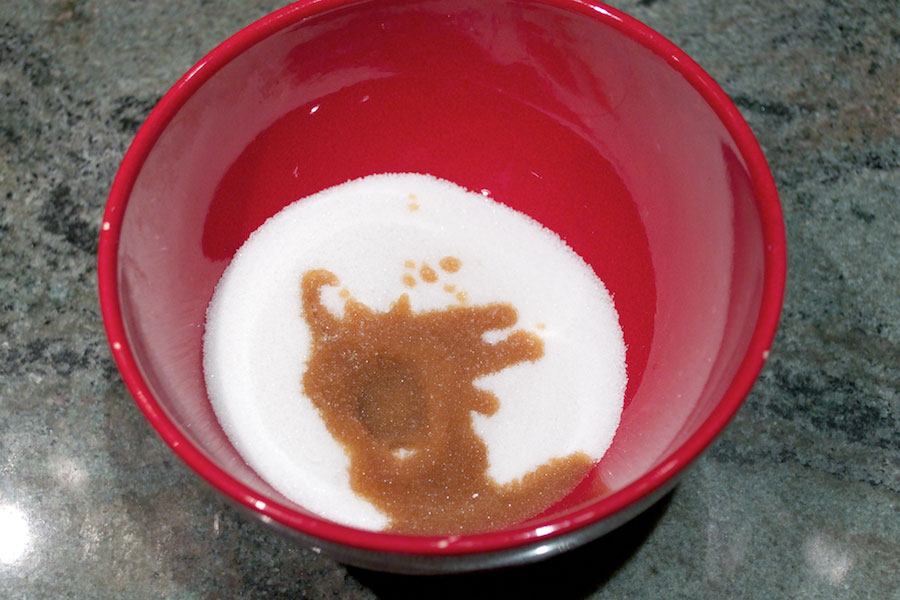
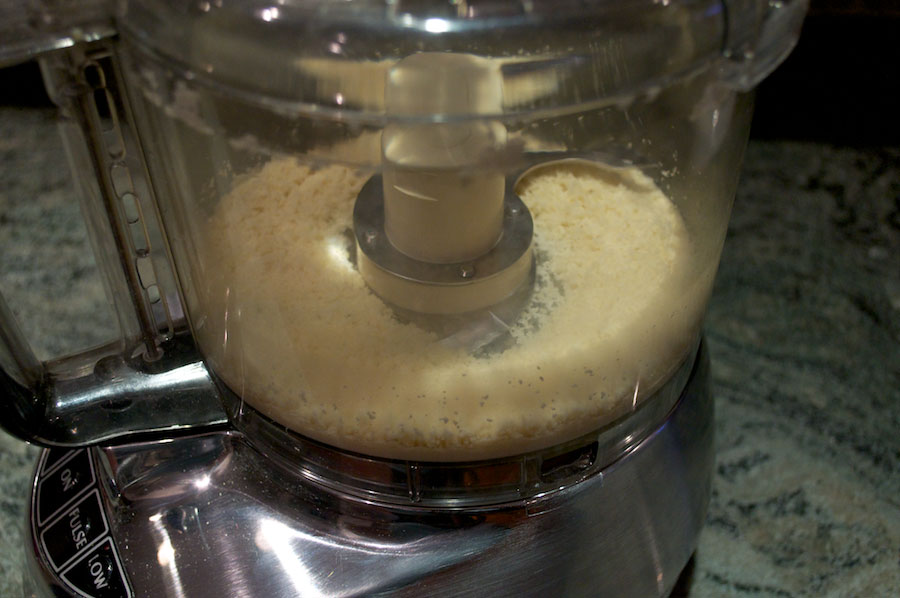
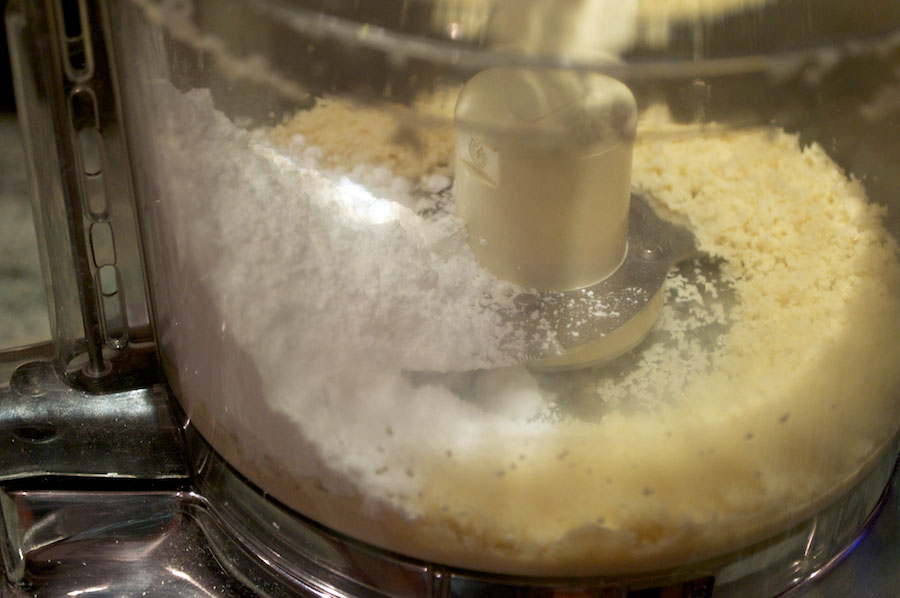
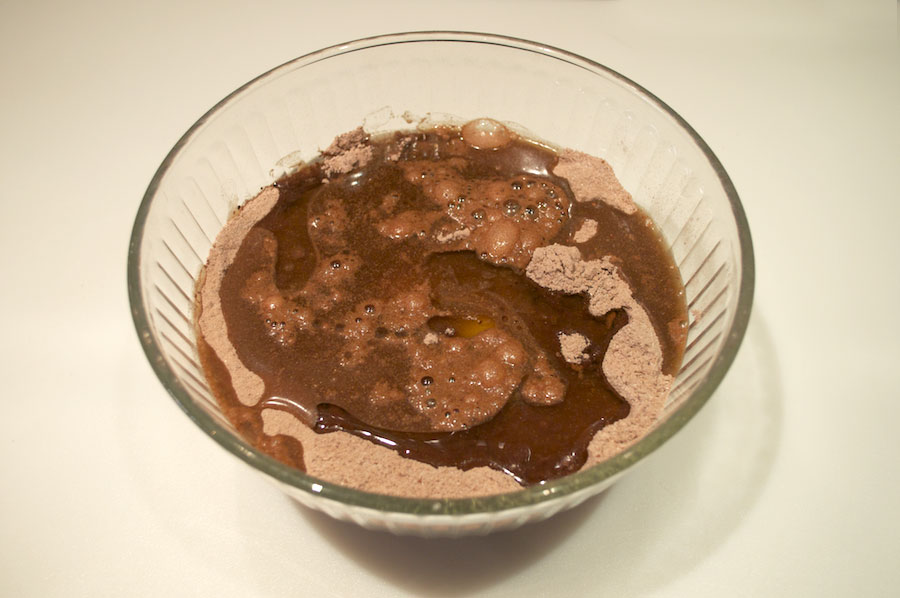
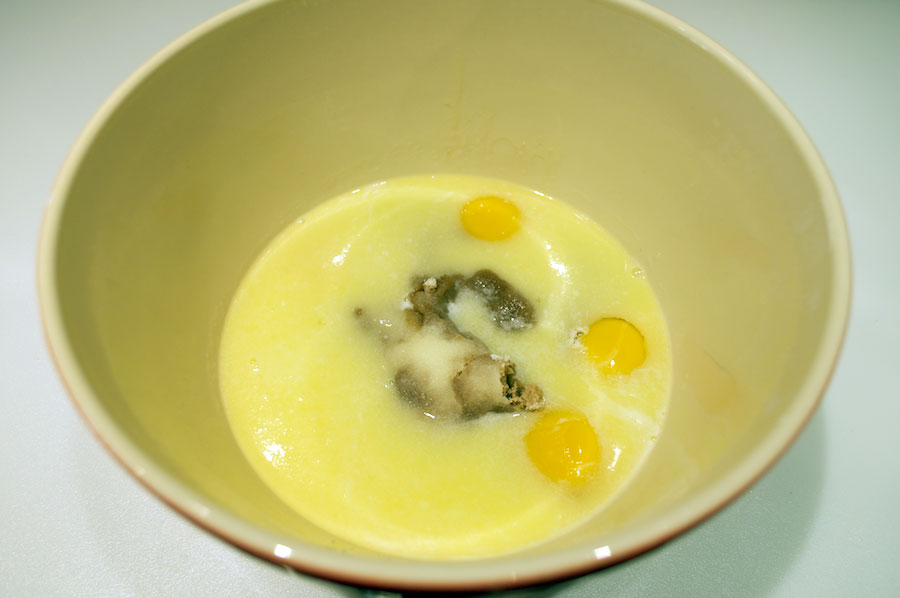
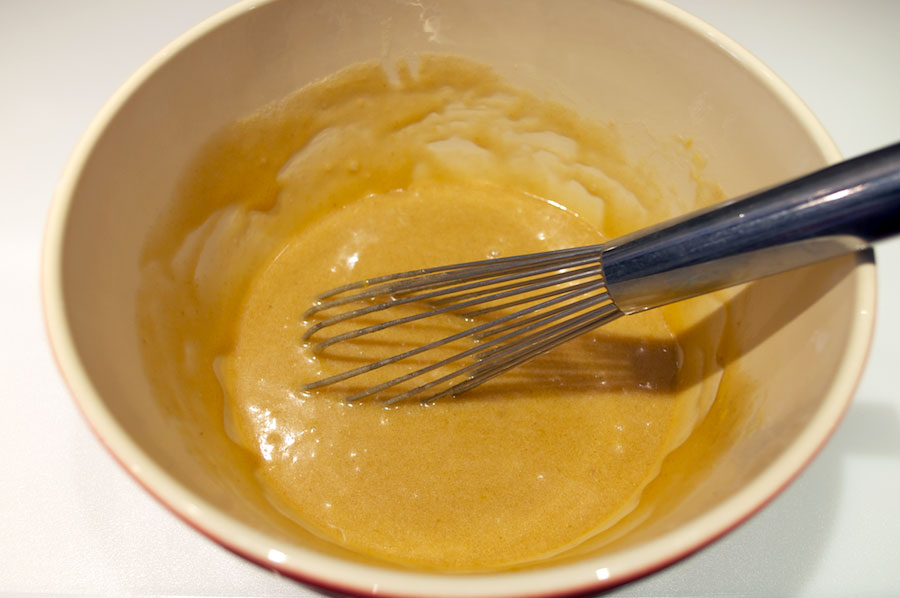
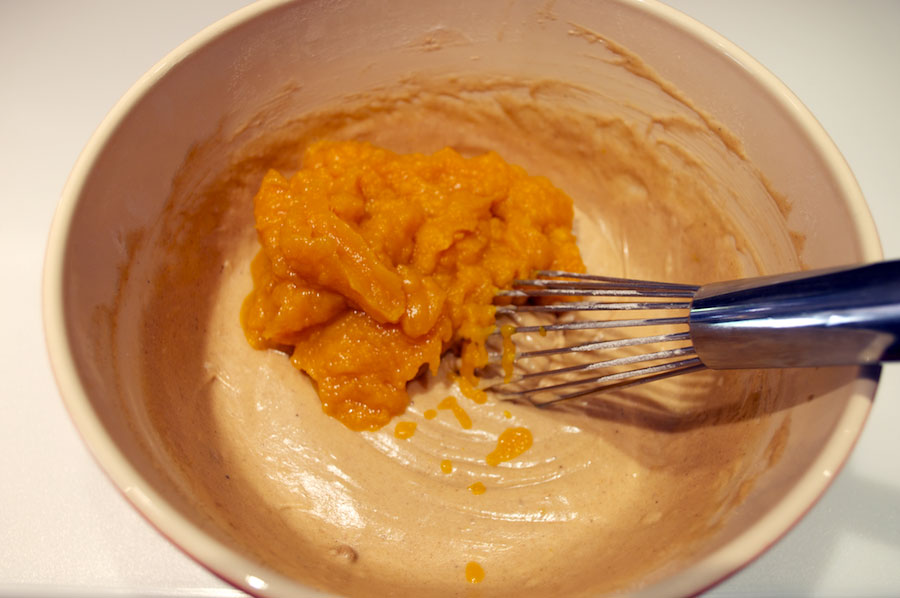
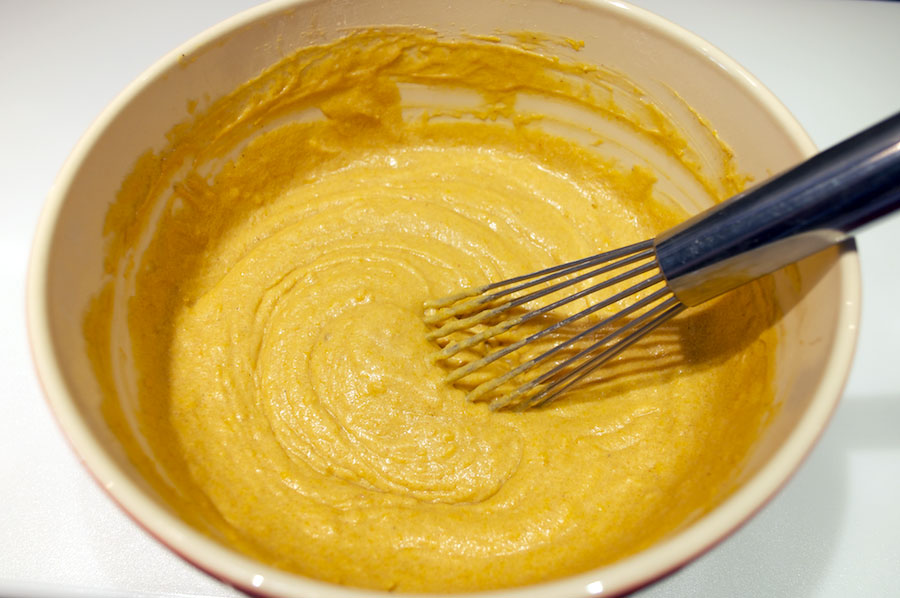
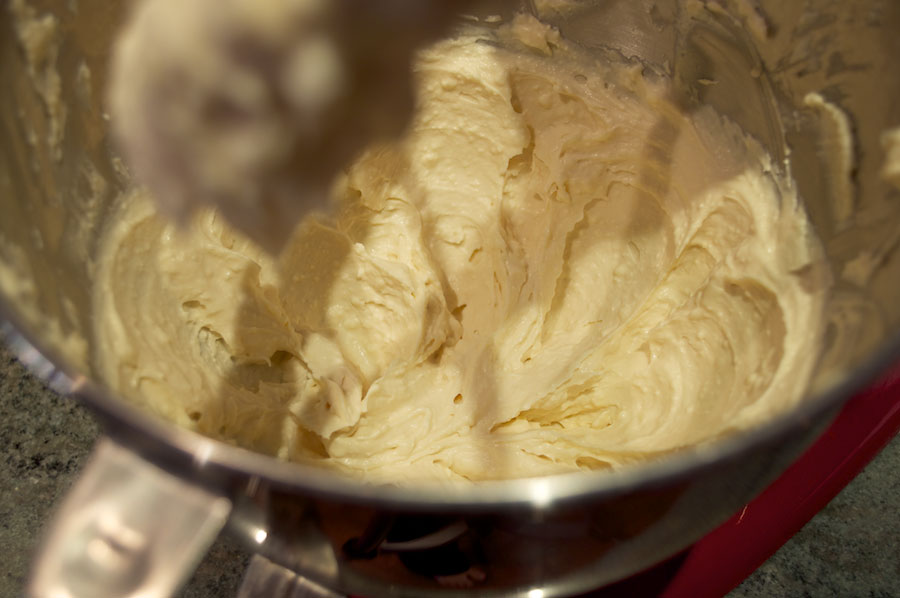
Combine the cooled milk and butter mixture with sugar, salt and eggs in the bowl of a mixer using the dough hook on medium speed until fully combined.
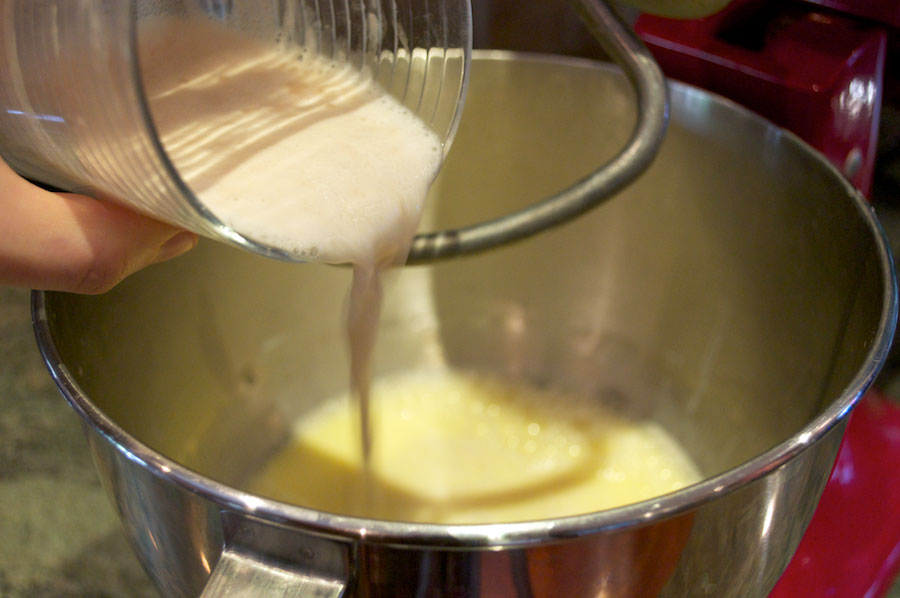
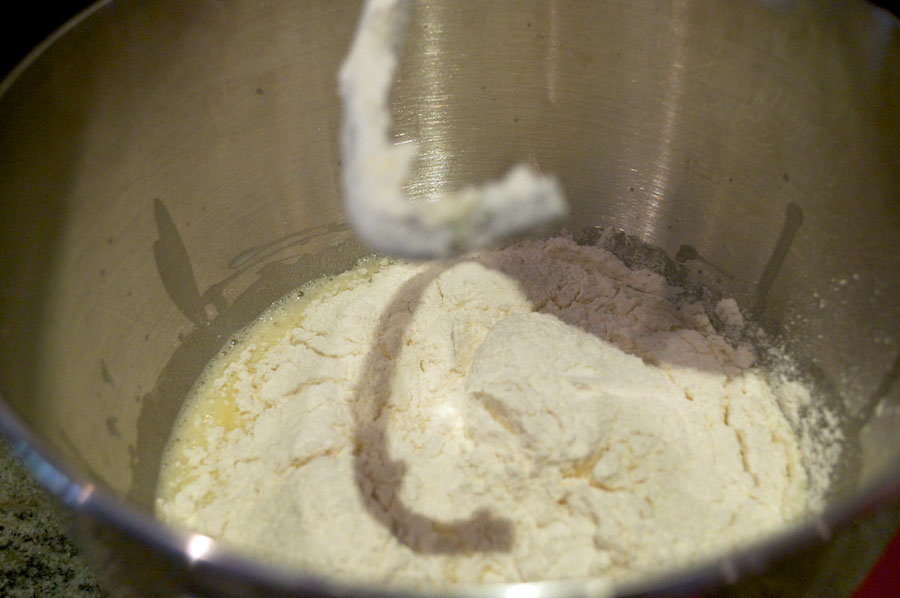
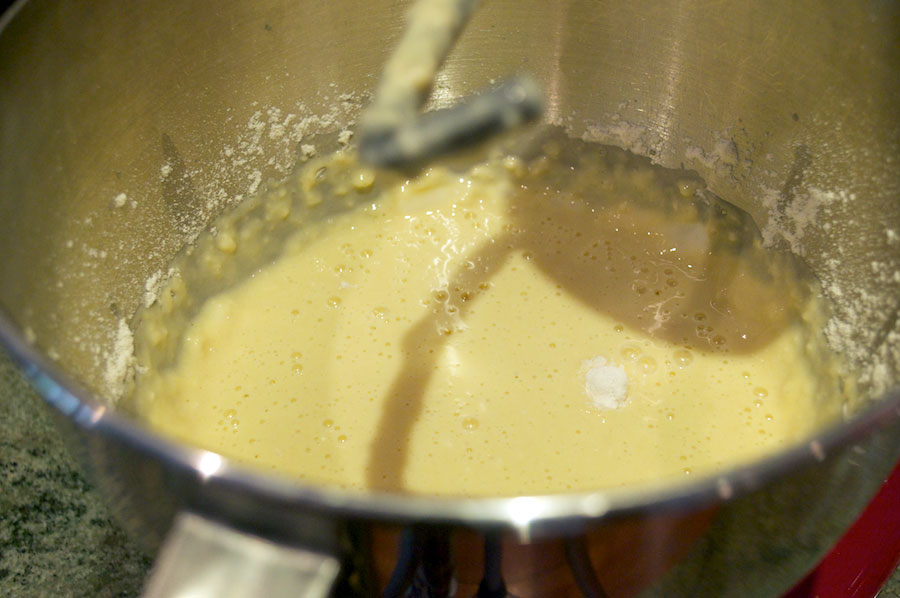
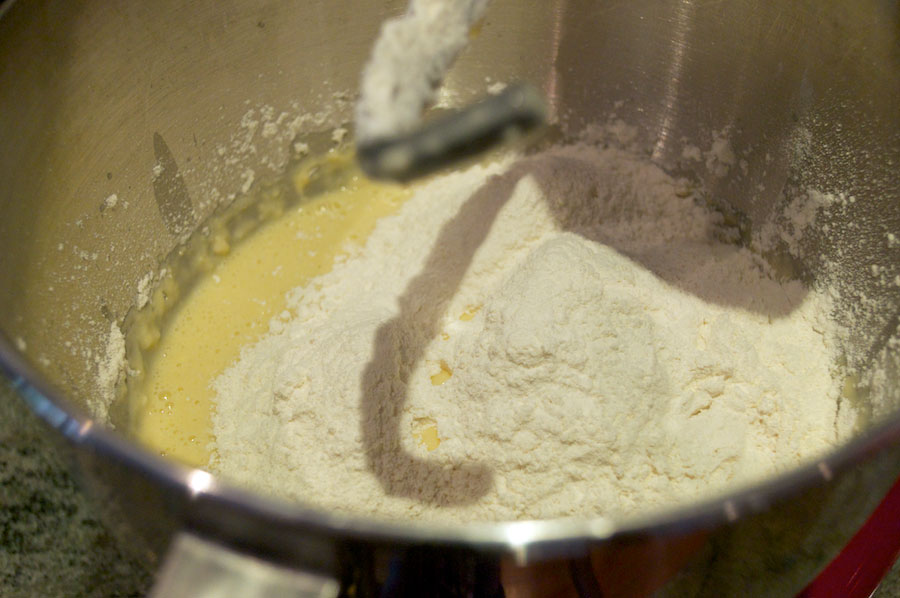
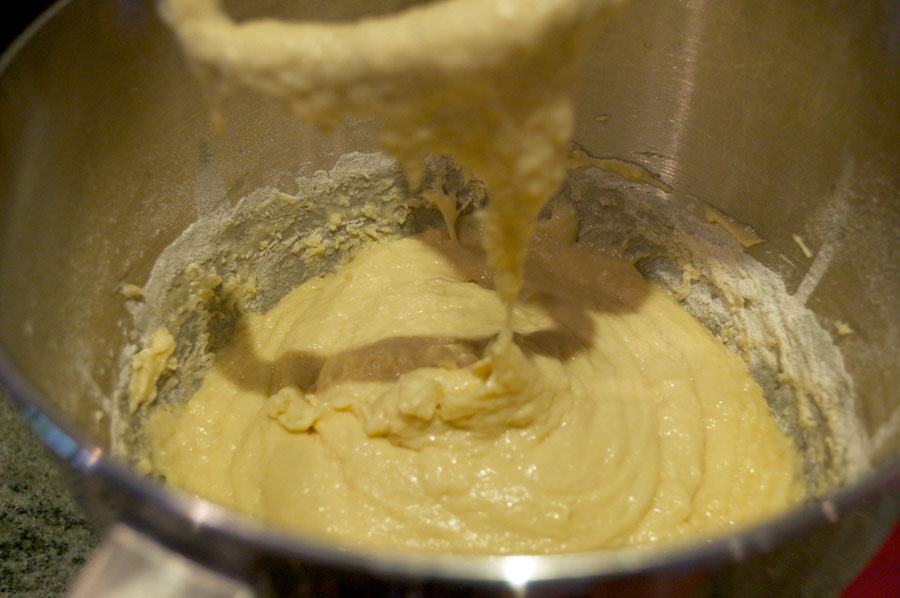
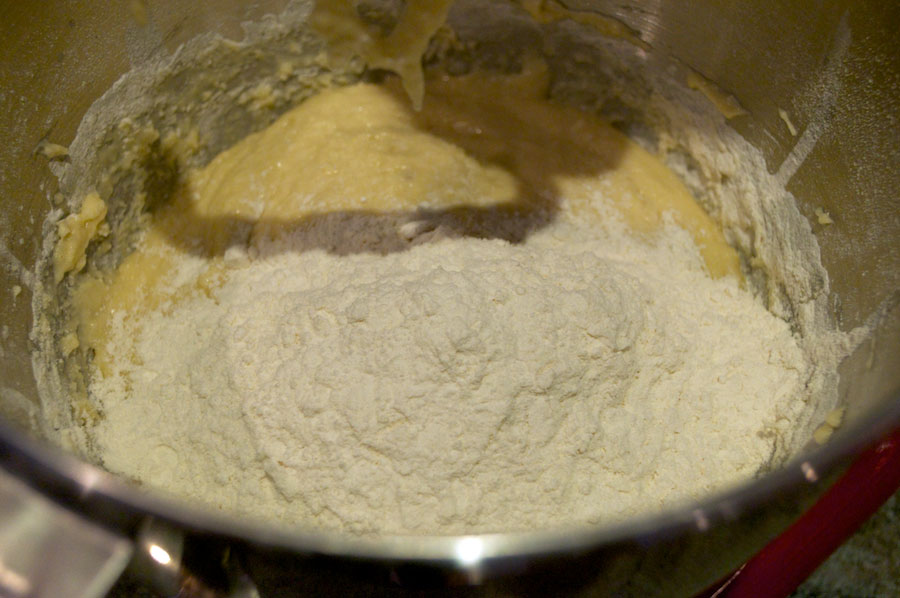
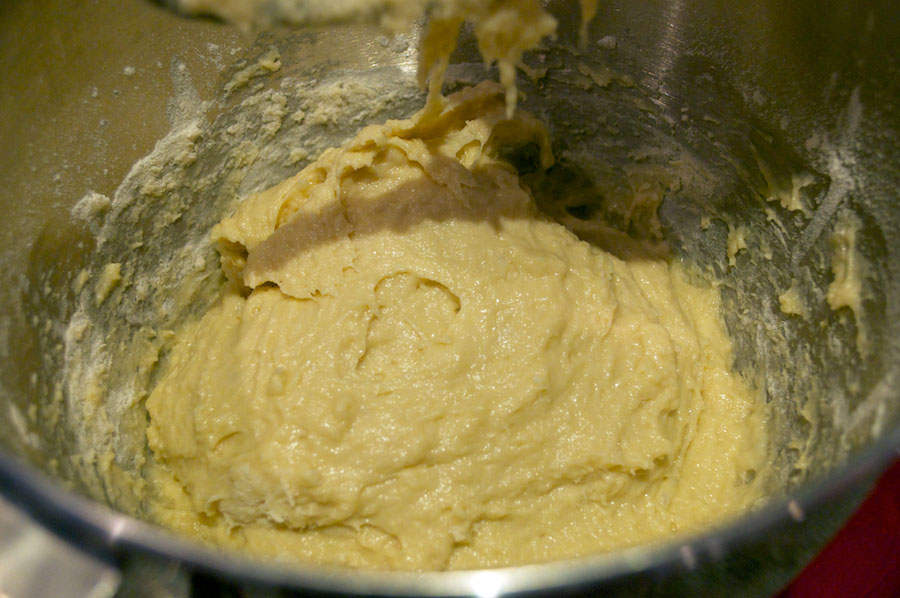
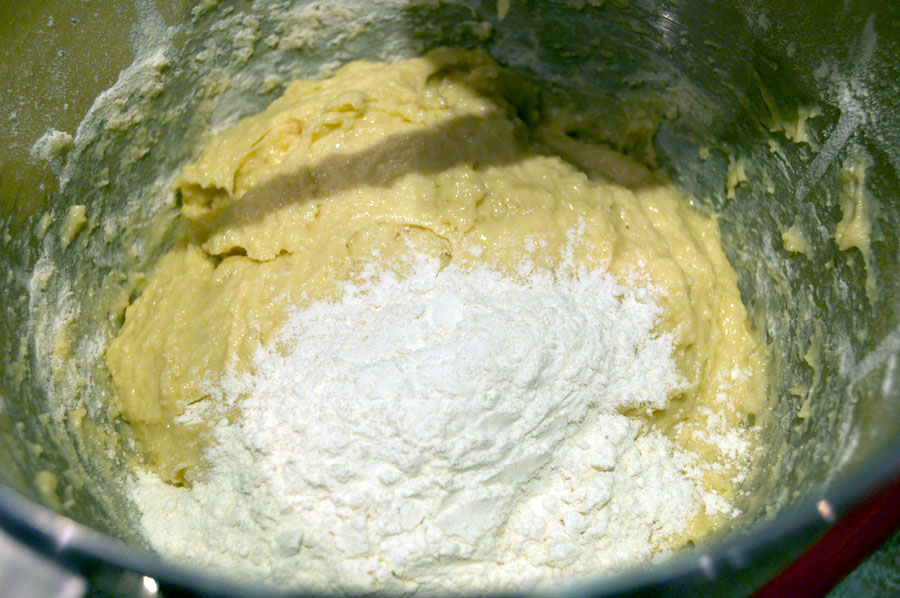
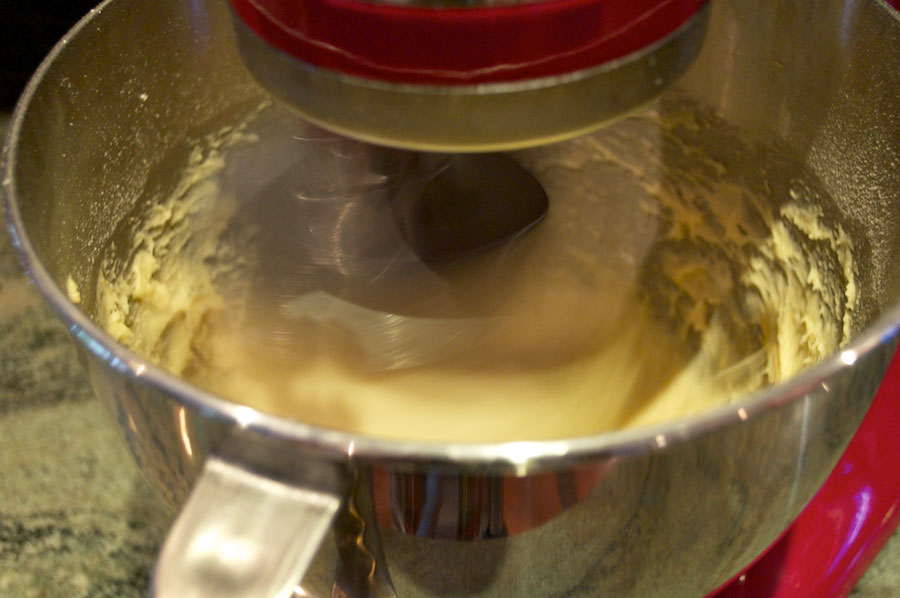
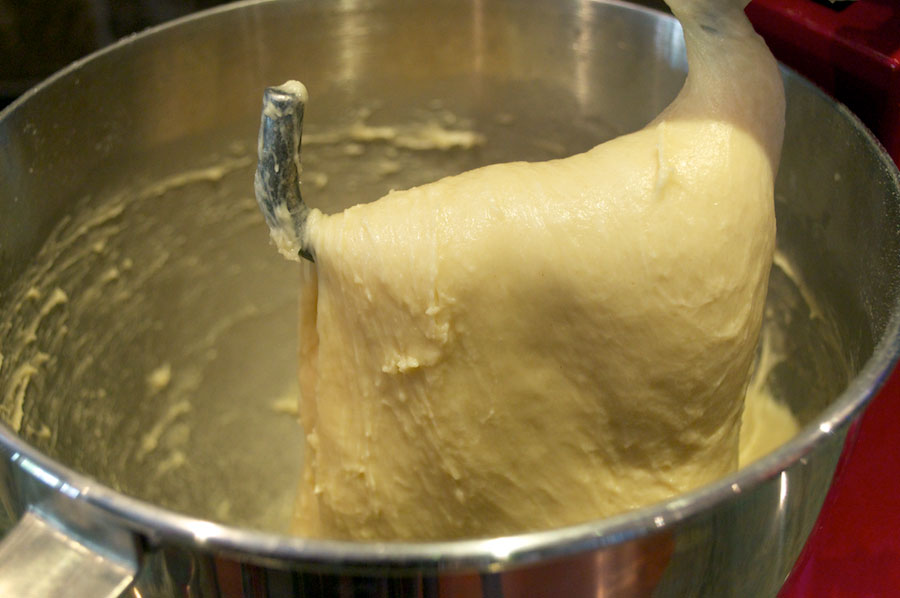
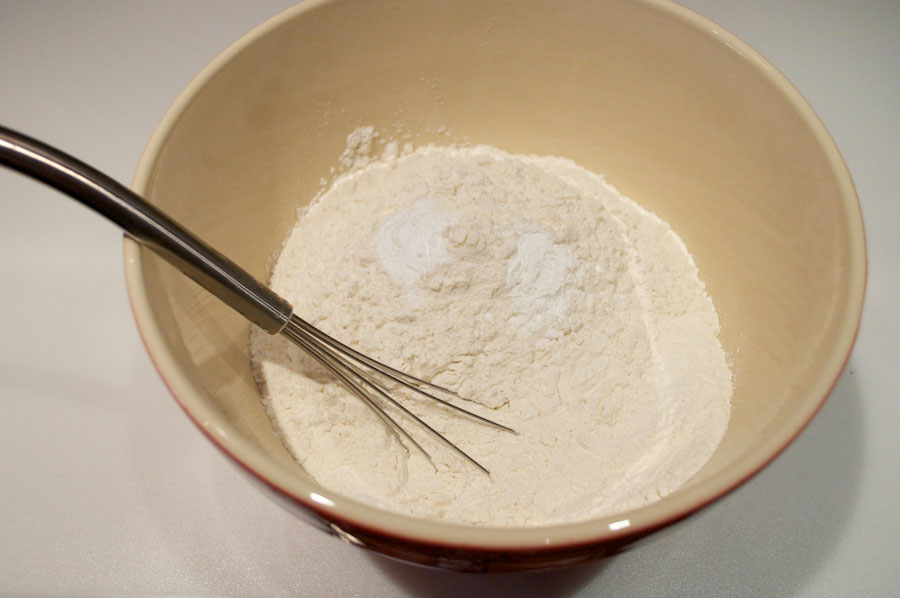
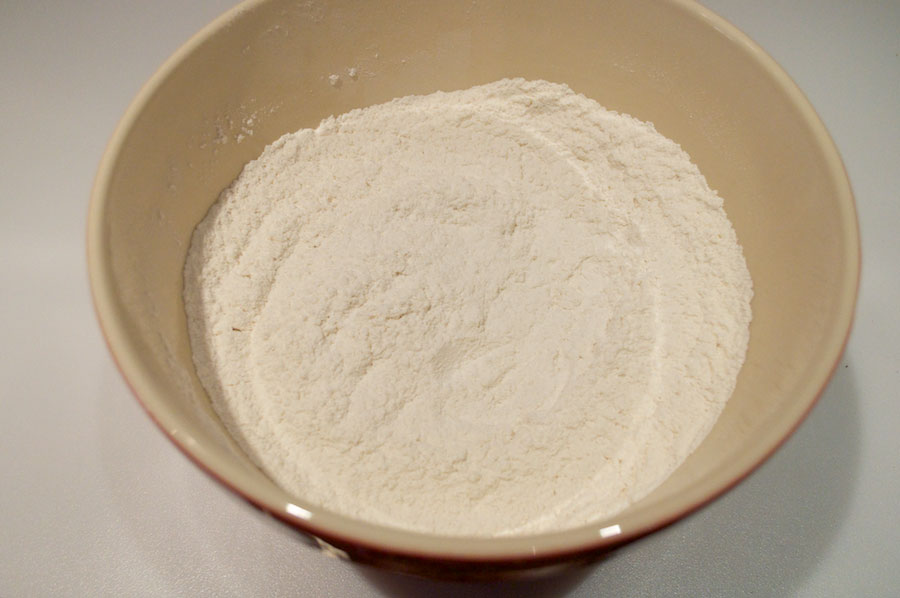
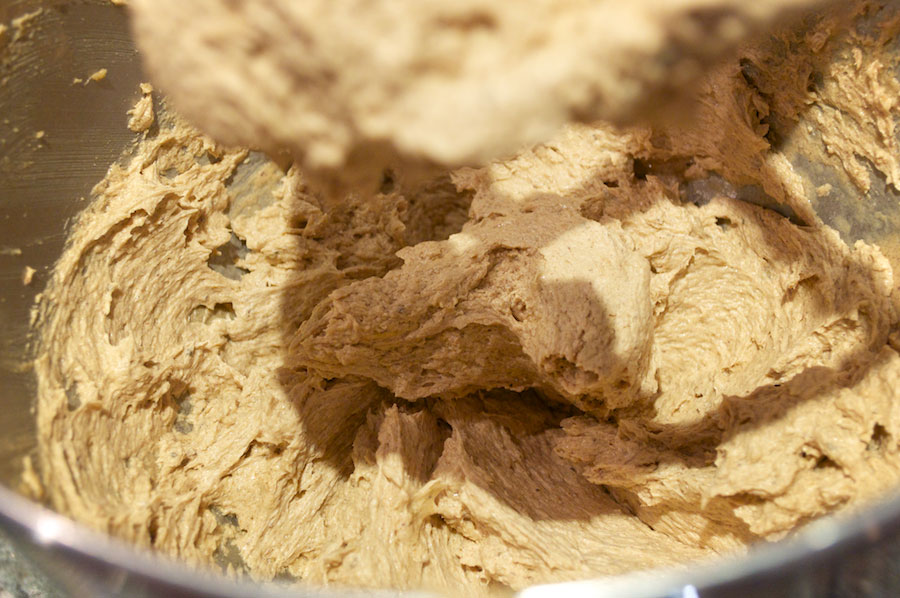
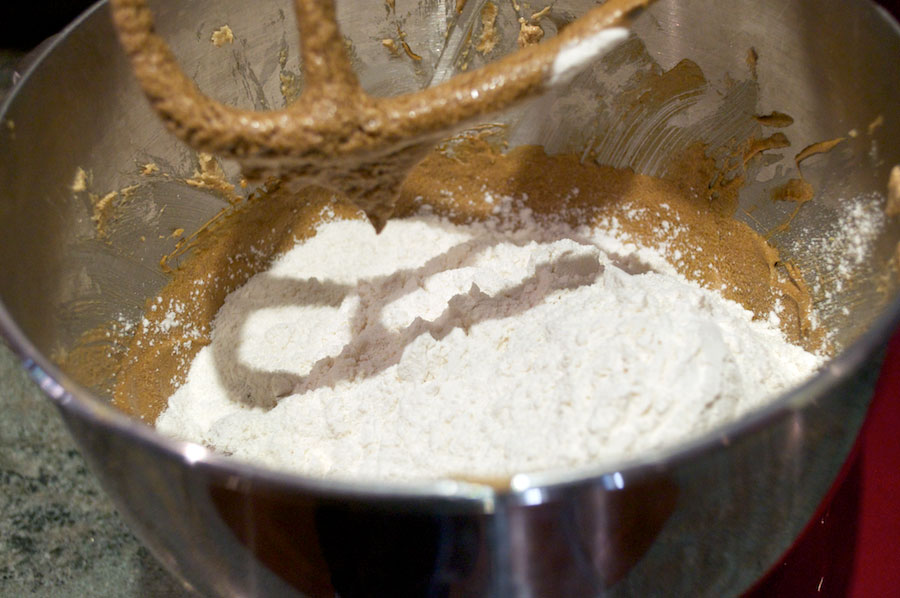
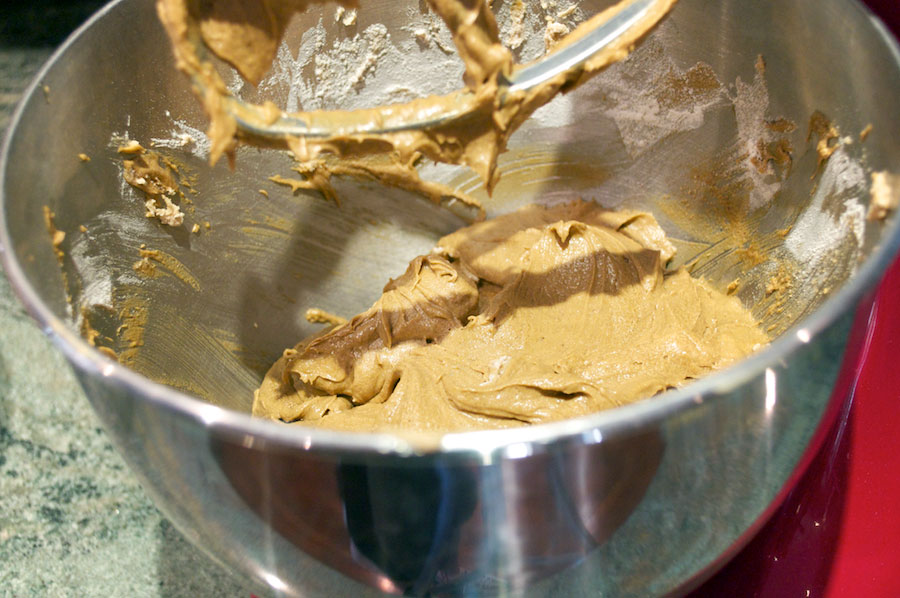
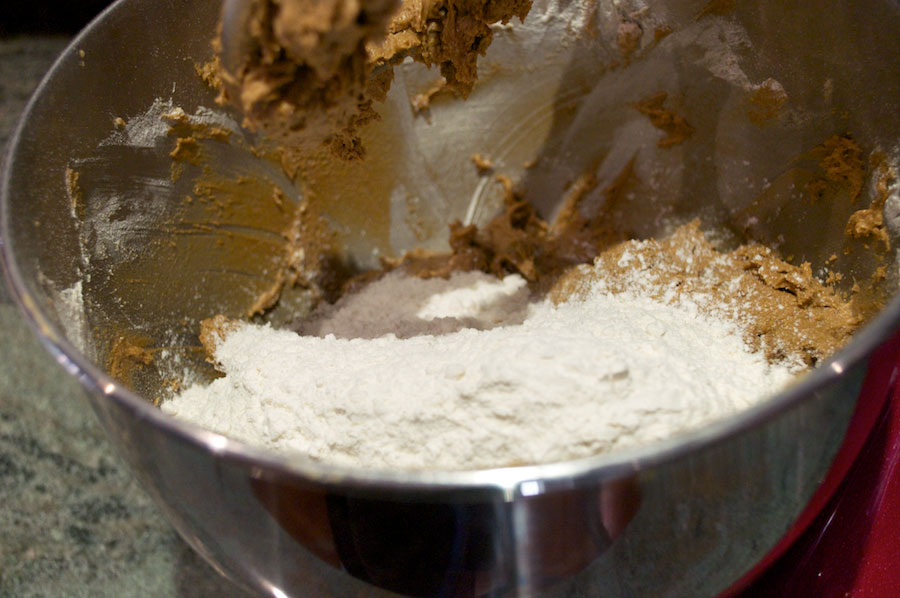
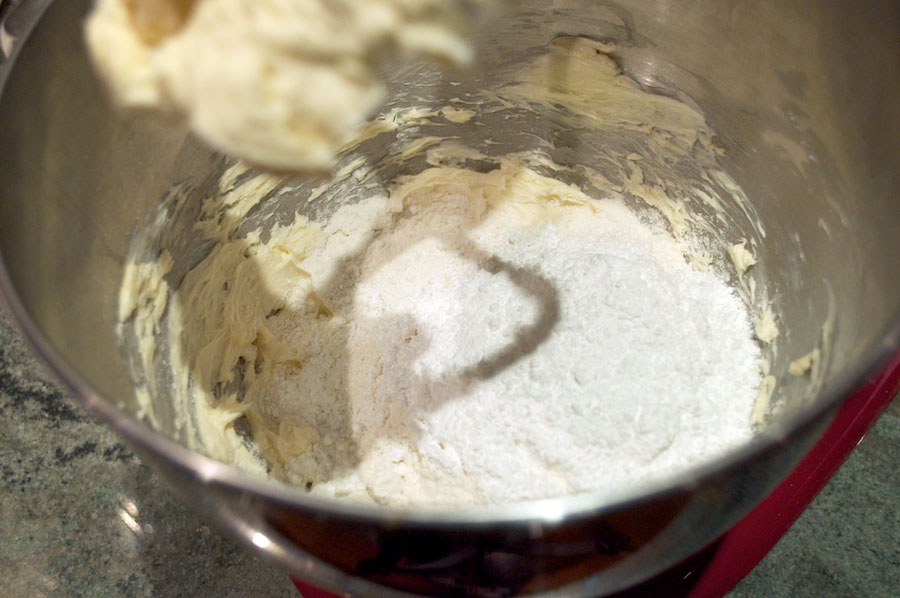
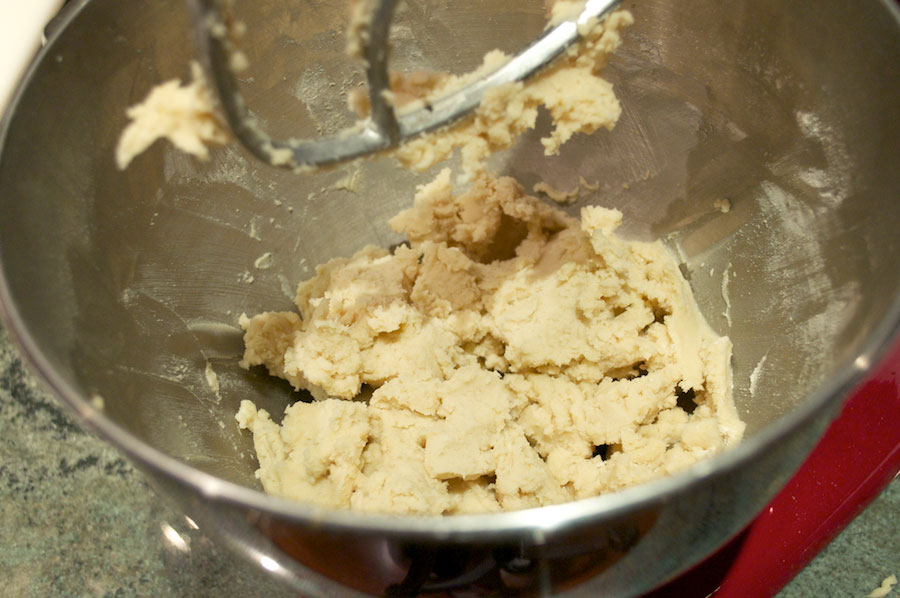
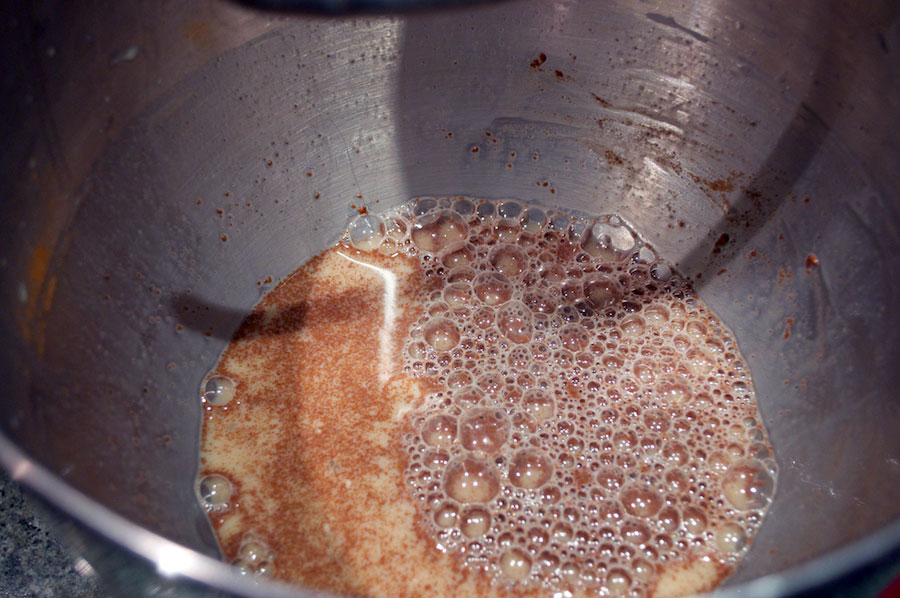
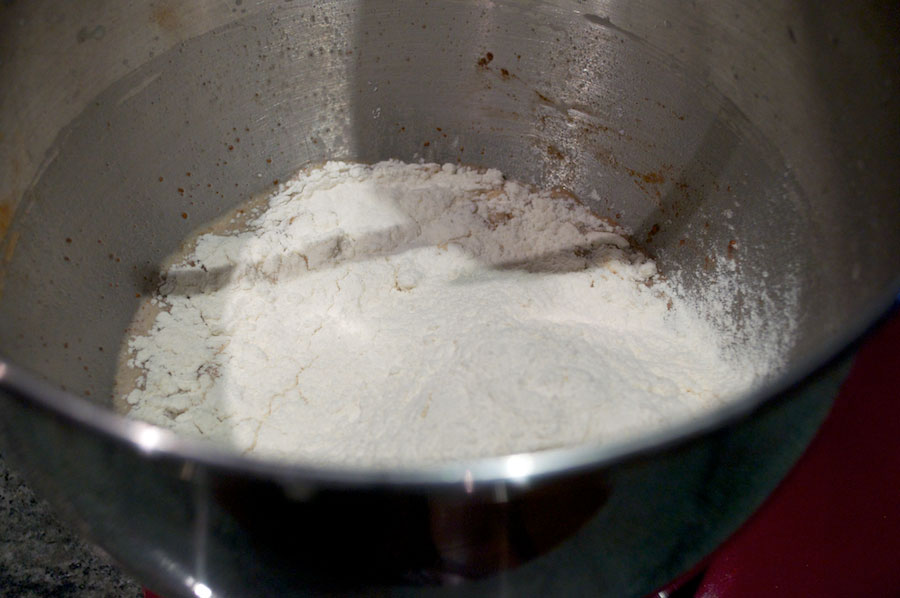
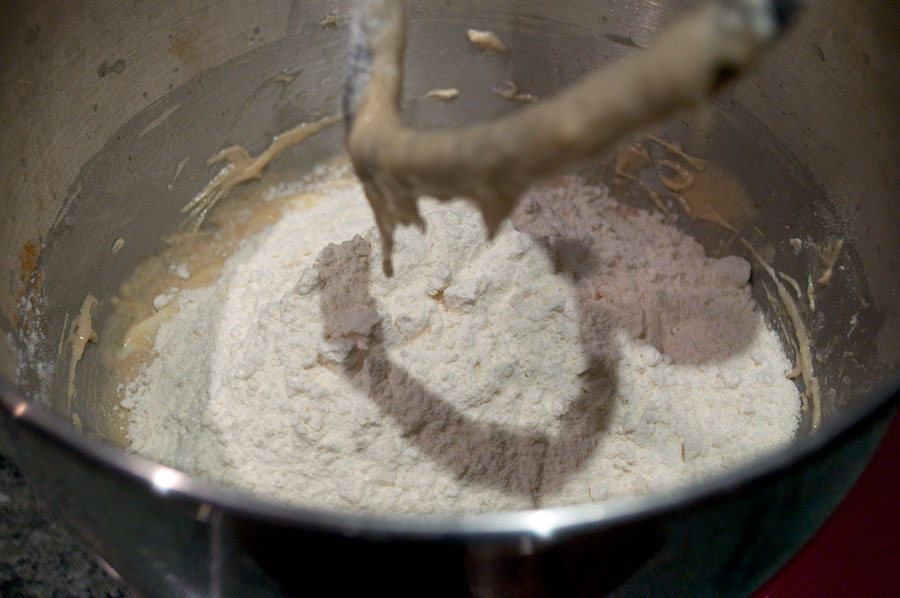
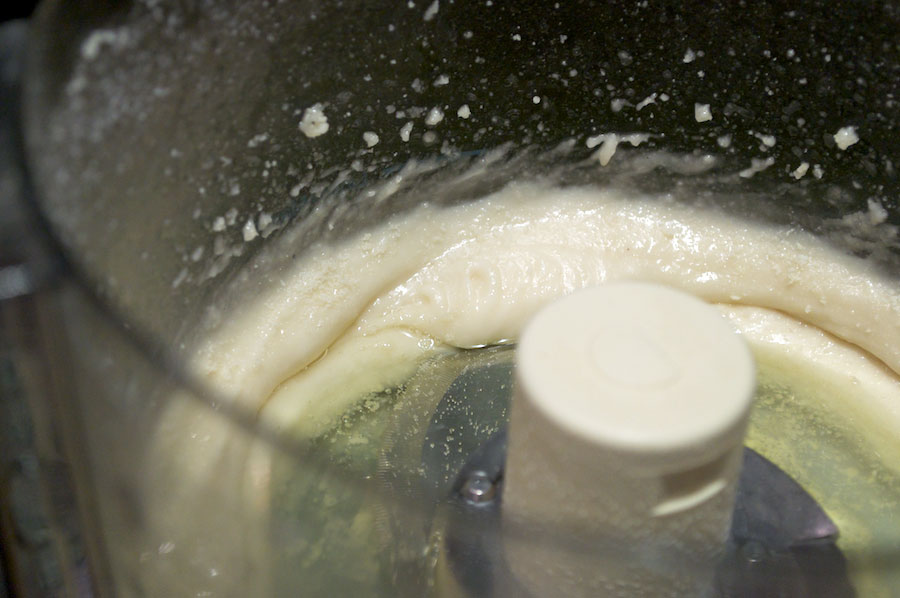
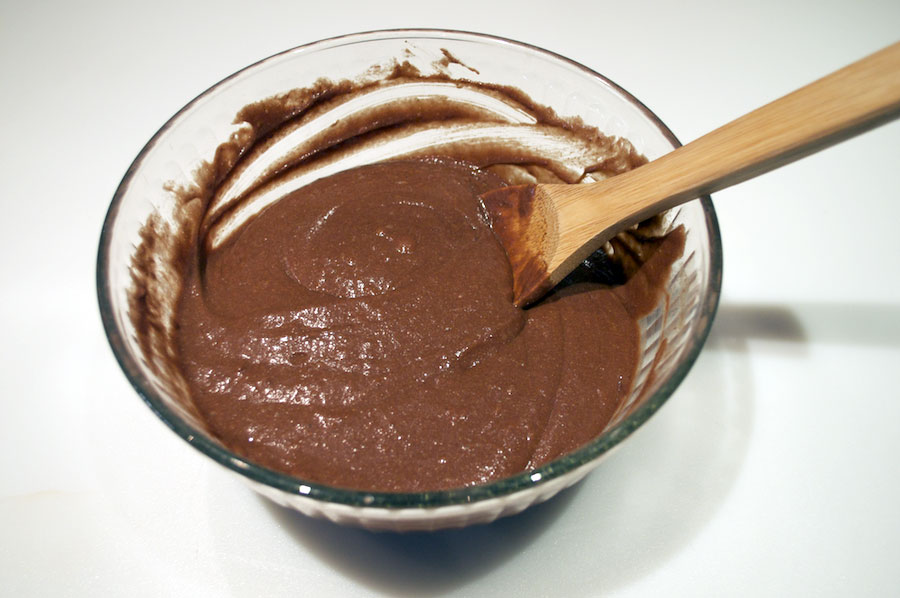
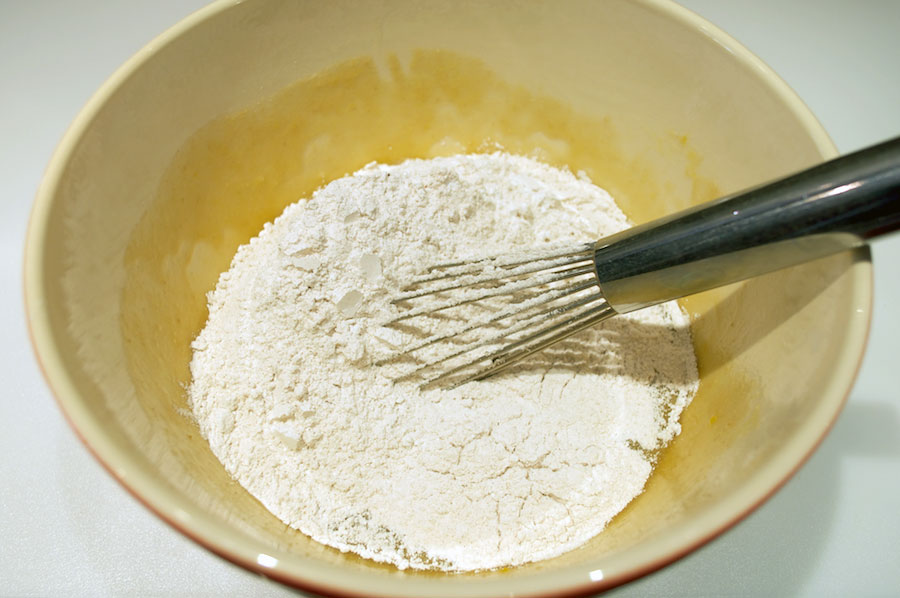
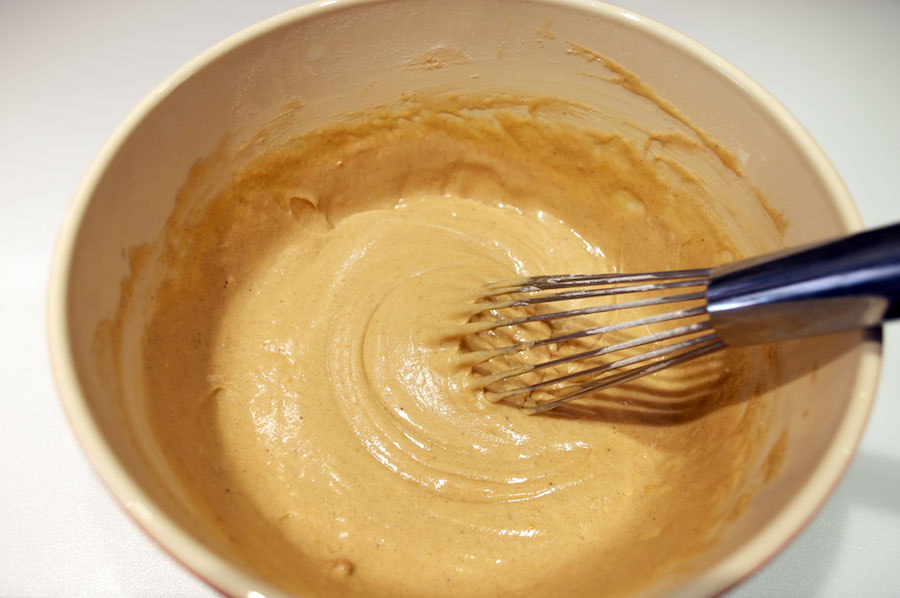
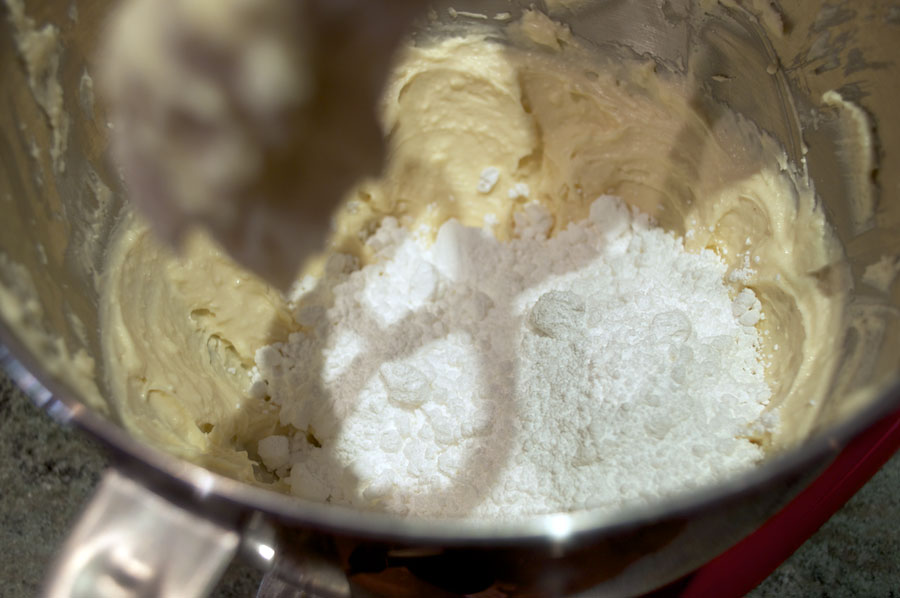
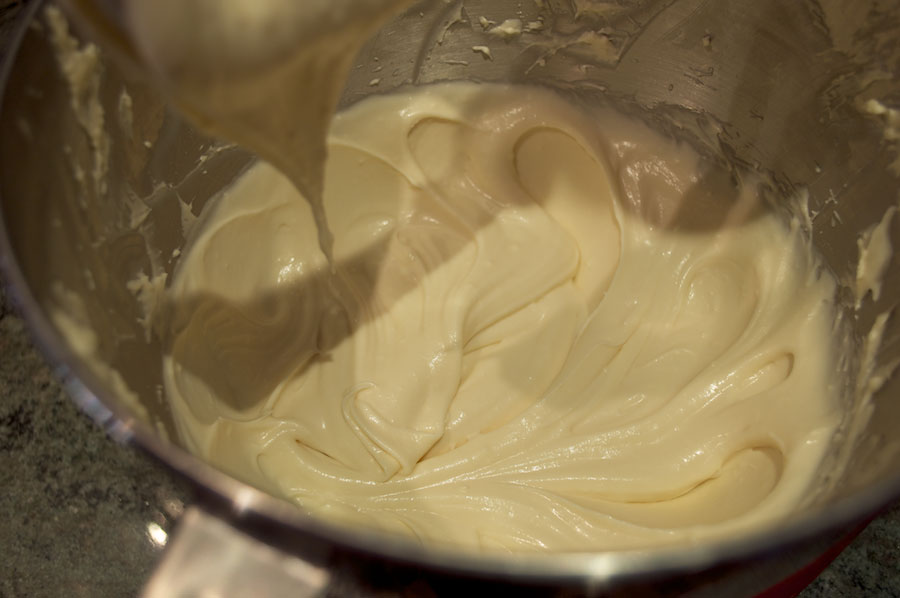
Add the yeast, mix until combined. Add the flour 1 cup at a time, the dough will be sticky. Growing up we always used All Purpose Flour, I however have switched to Bread Flour when available. Both work well. The dough will be sticky, don’t let that scare you.
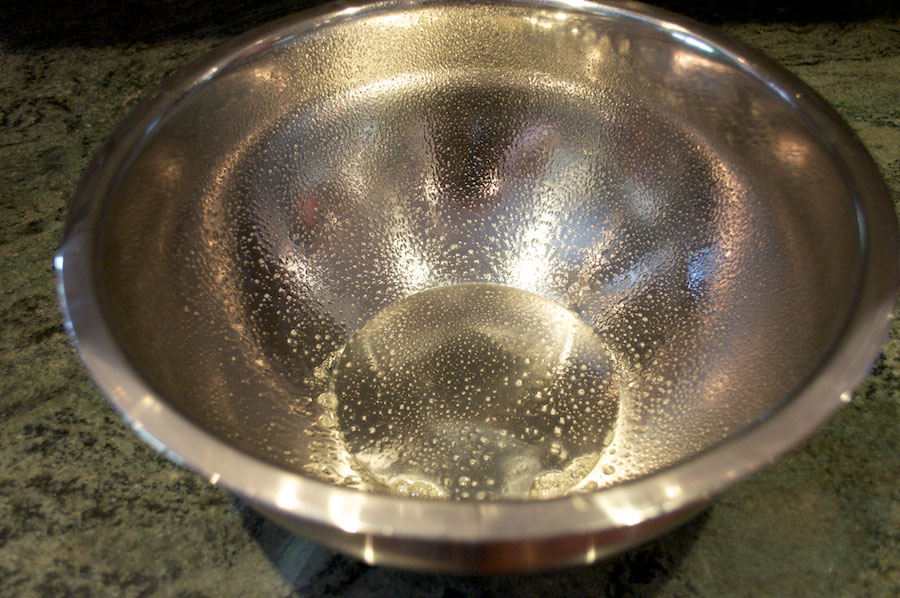
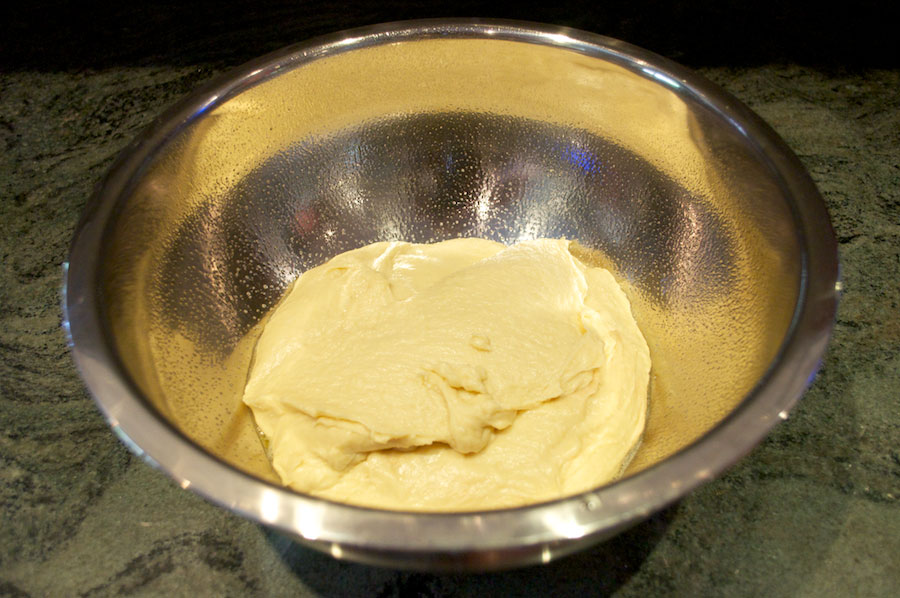
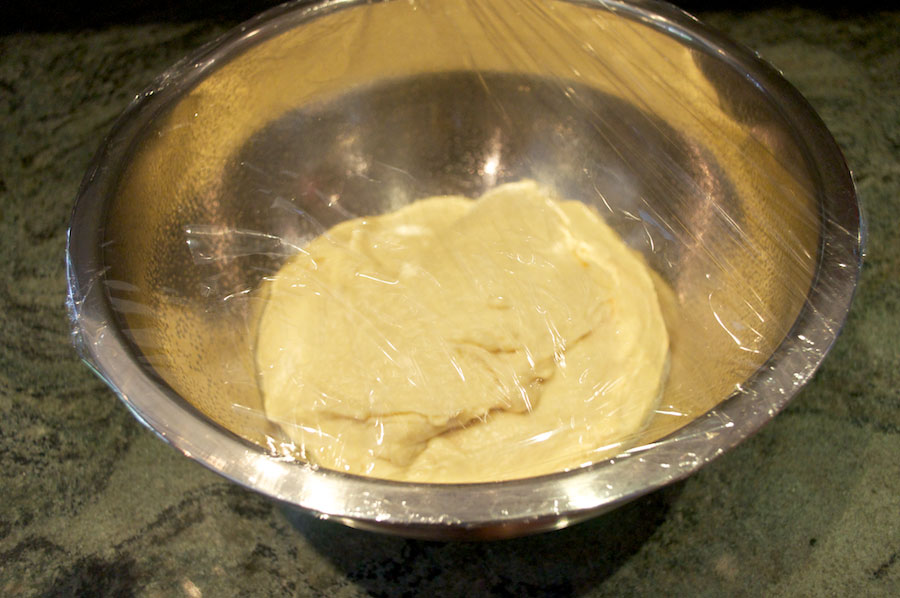
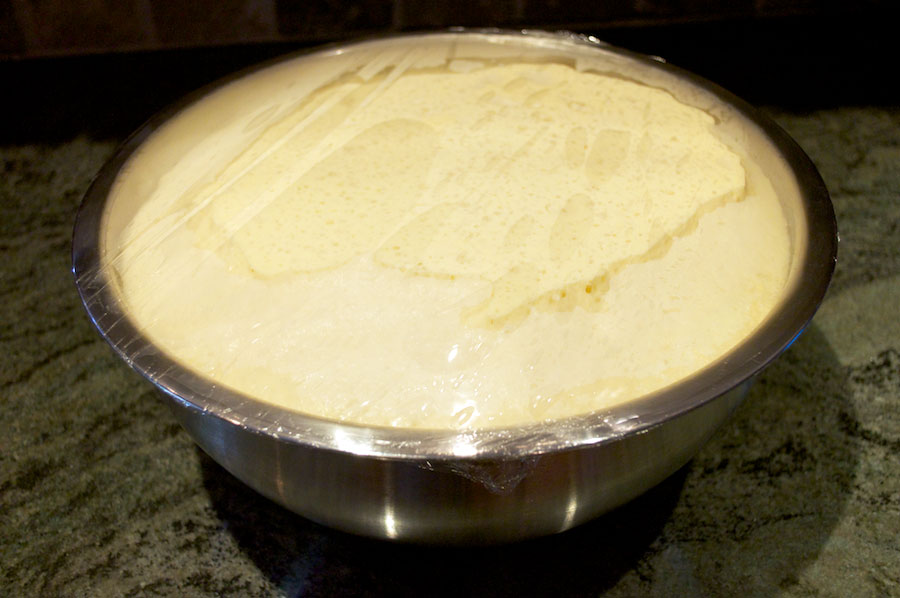
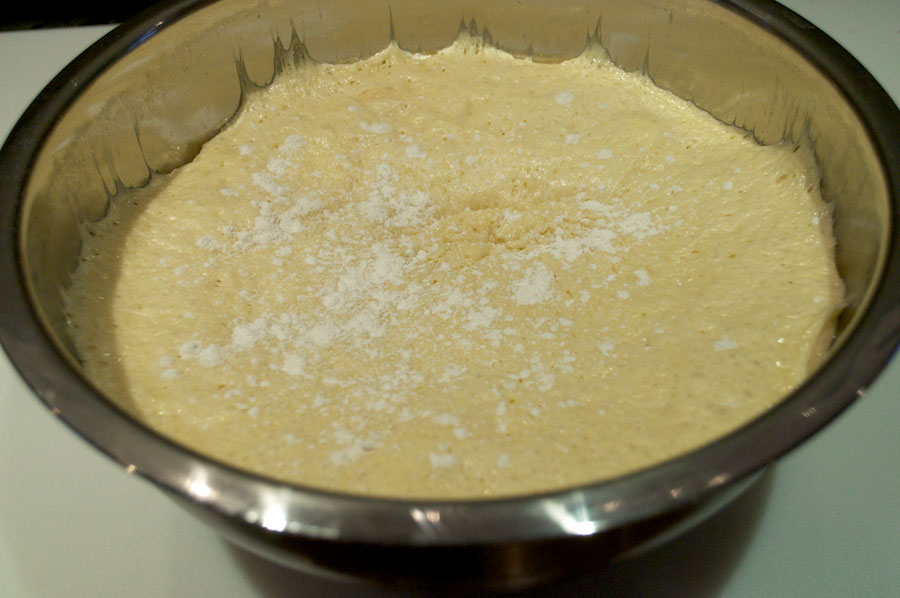
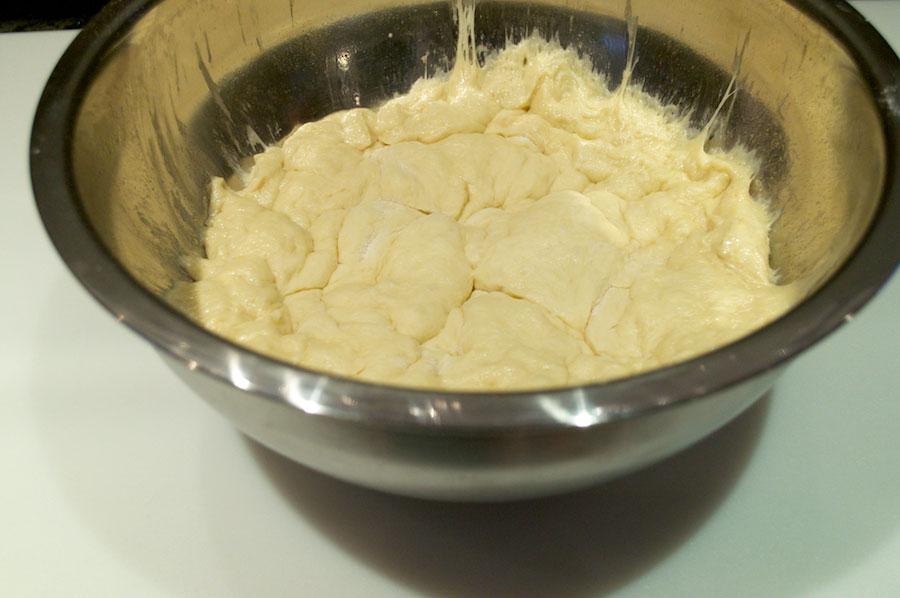
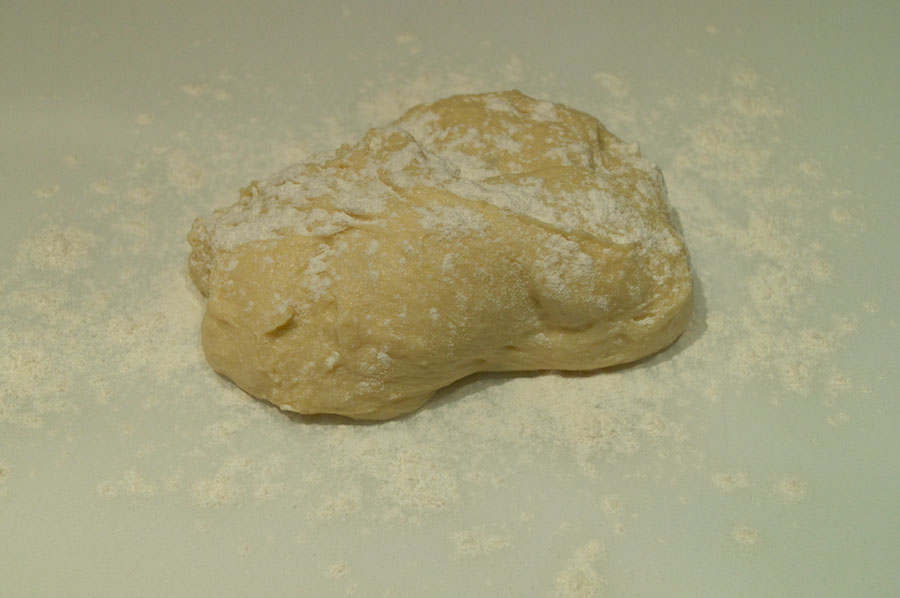
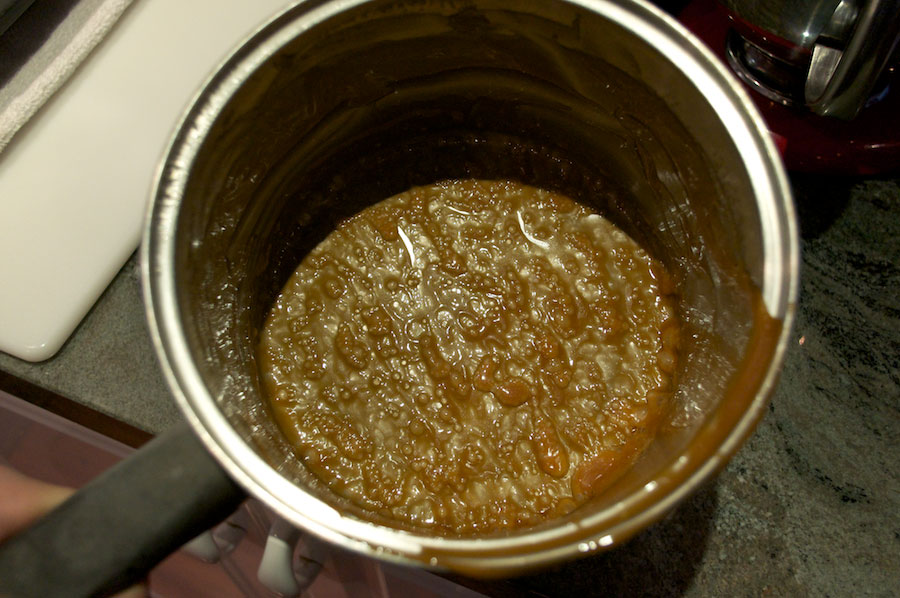
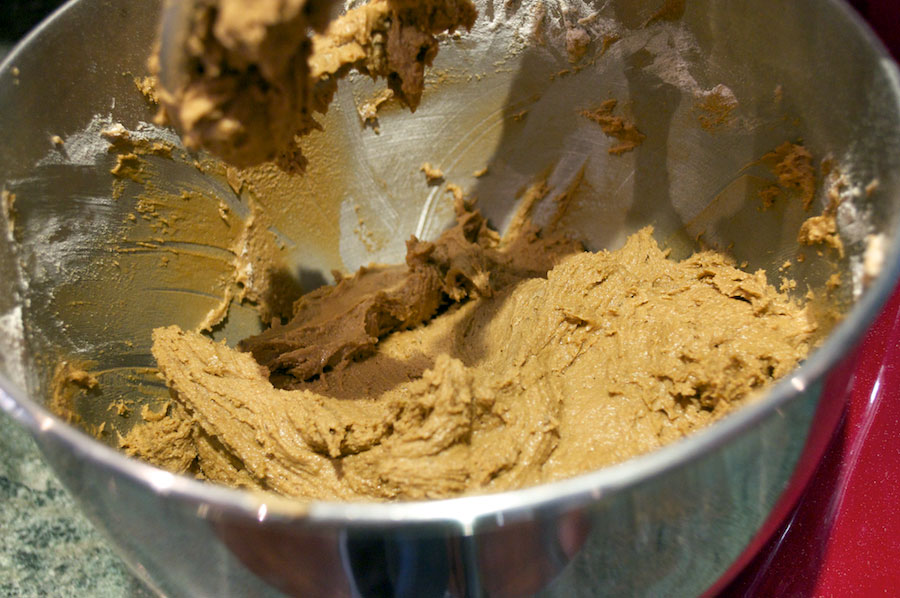
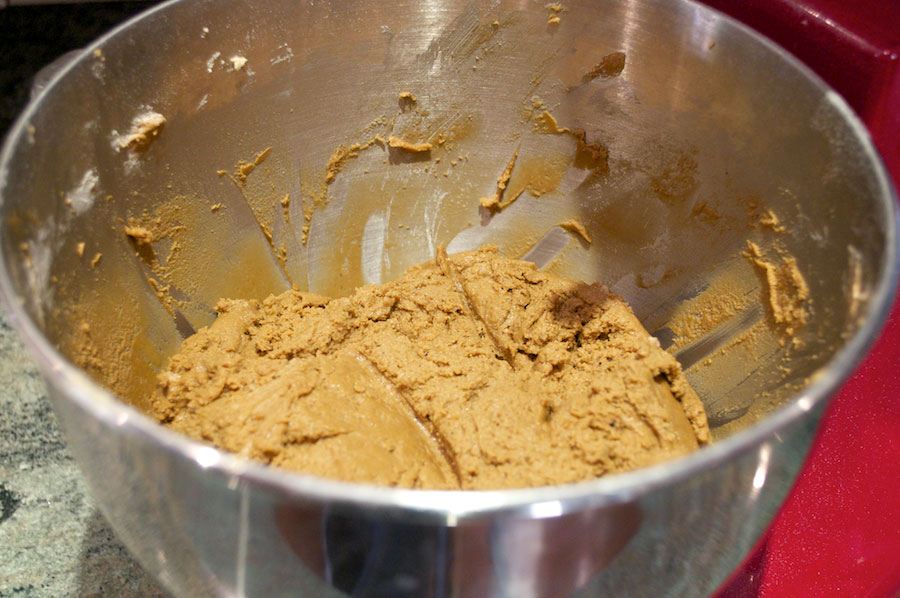
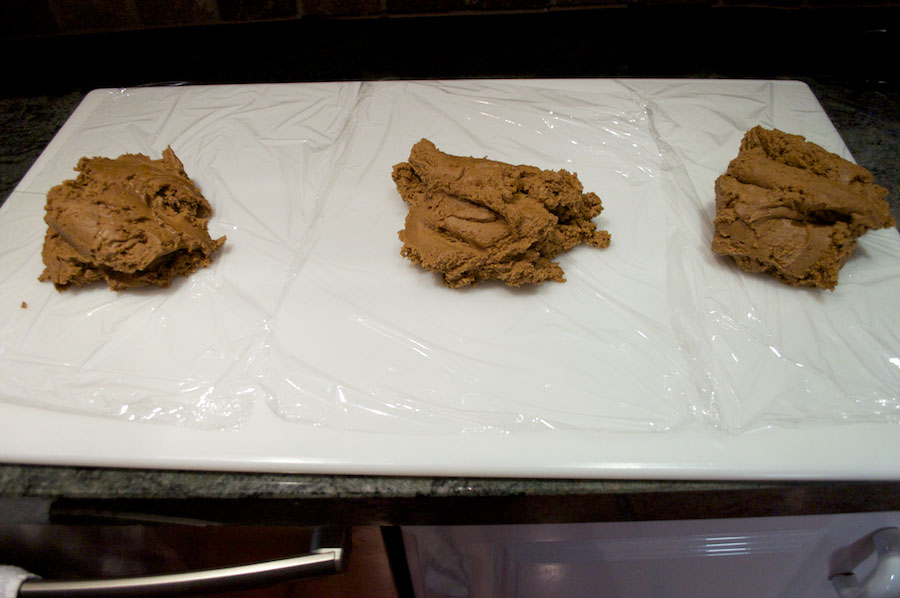
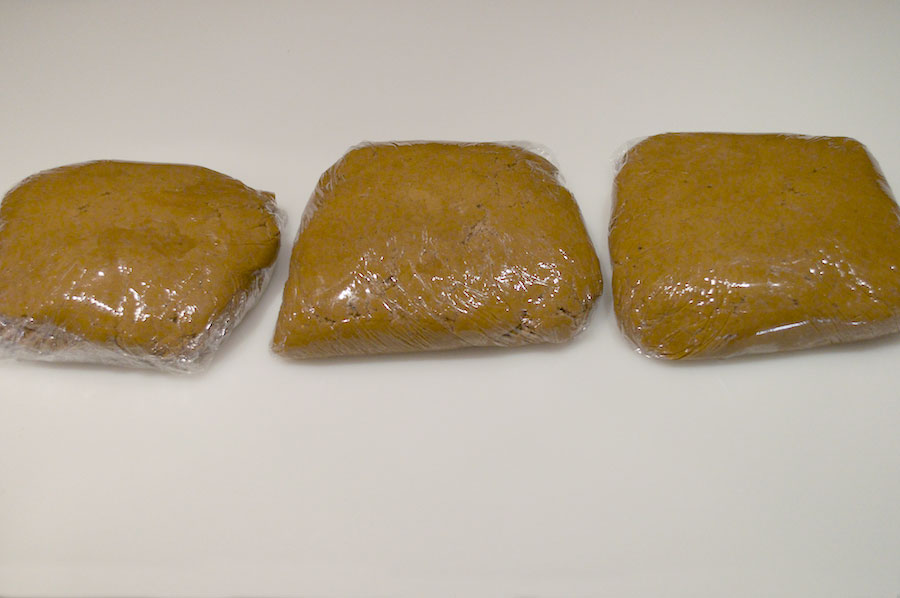
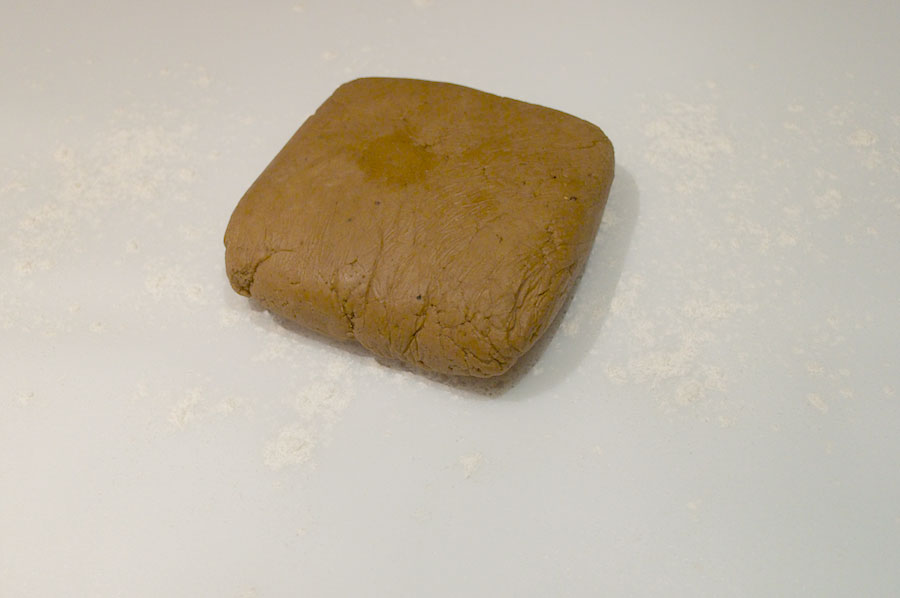
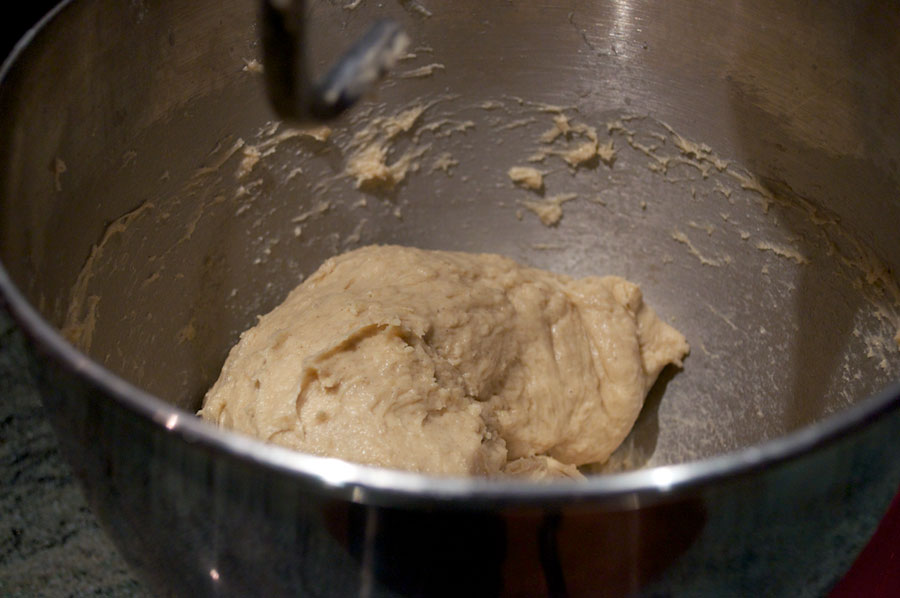
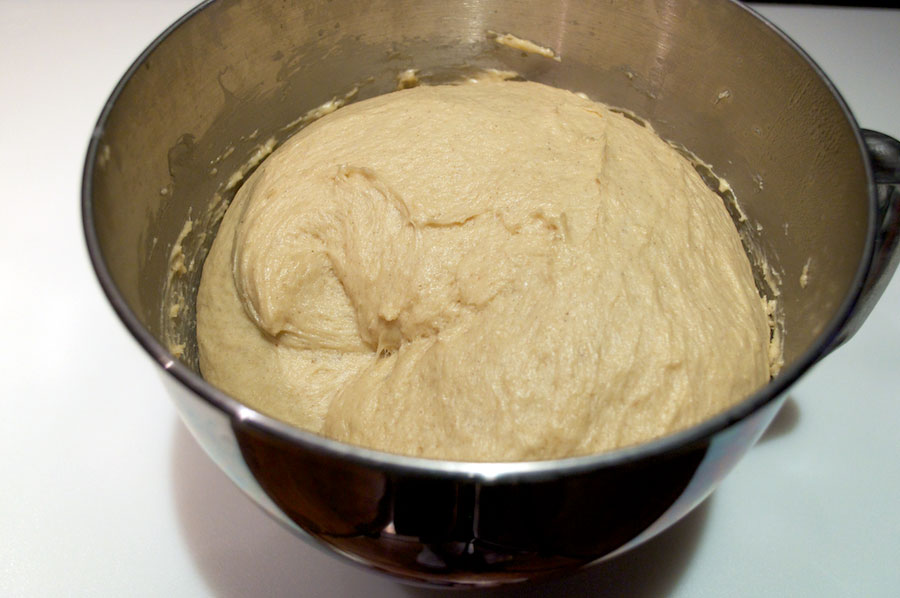
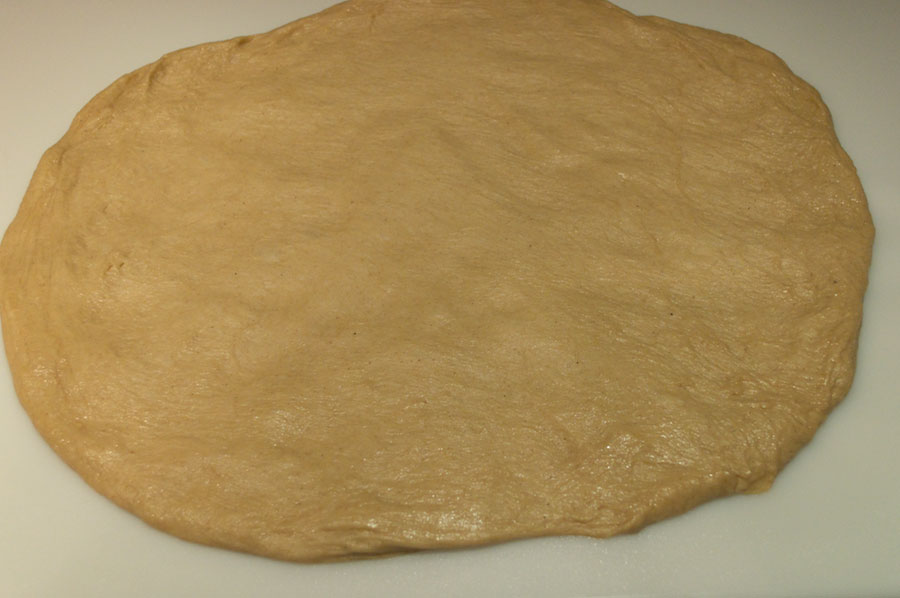
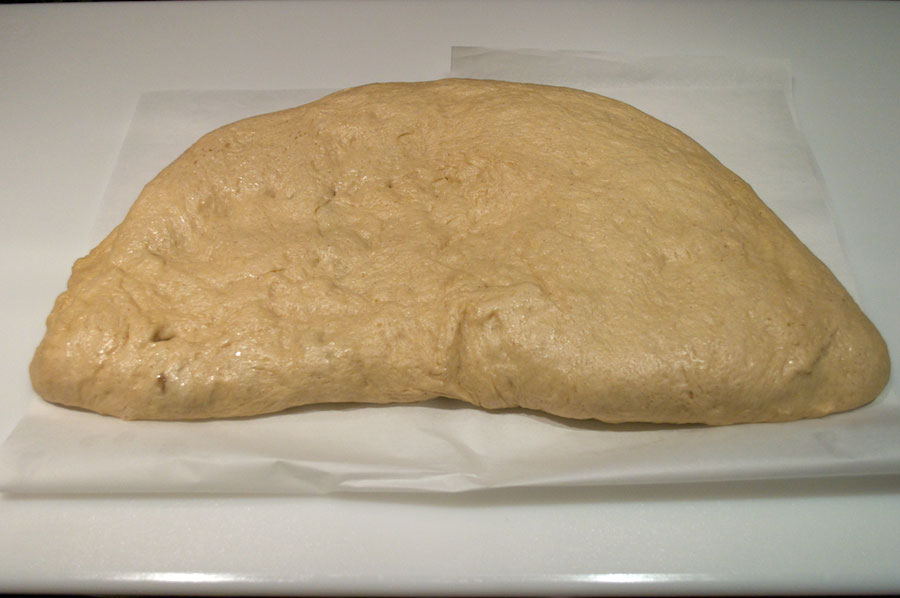
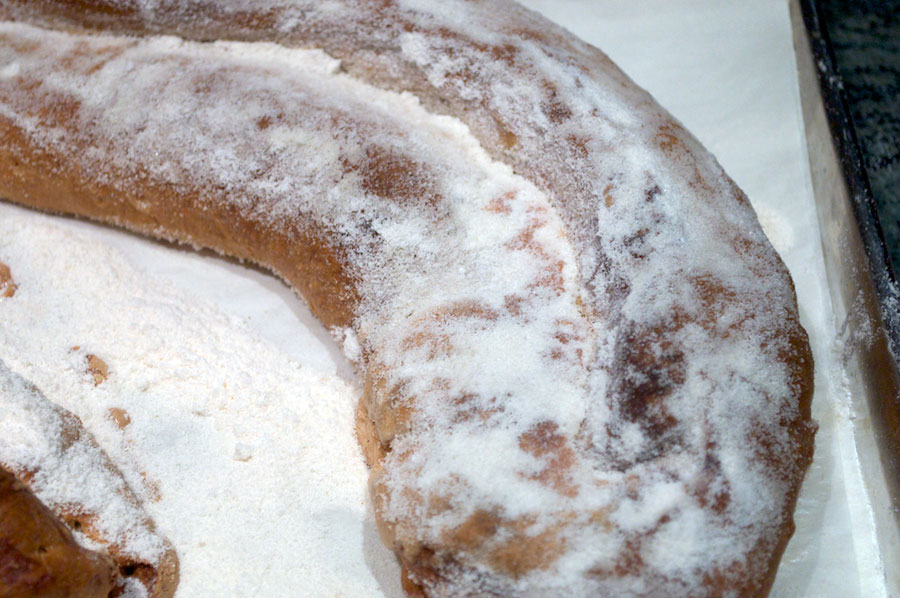
Place the dough in a lightly greased bowl and cover with plastic wrap. Let dough rise for 5 to 6 hours, or until doubled in size. Sprinkle with flour and punch down the dough.
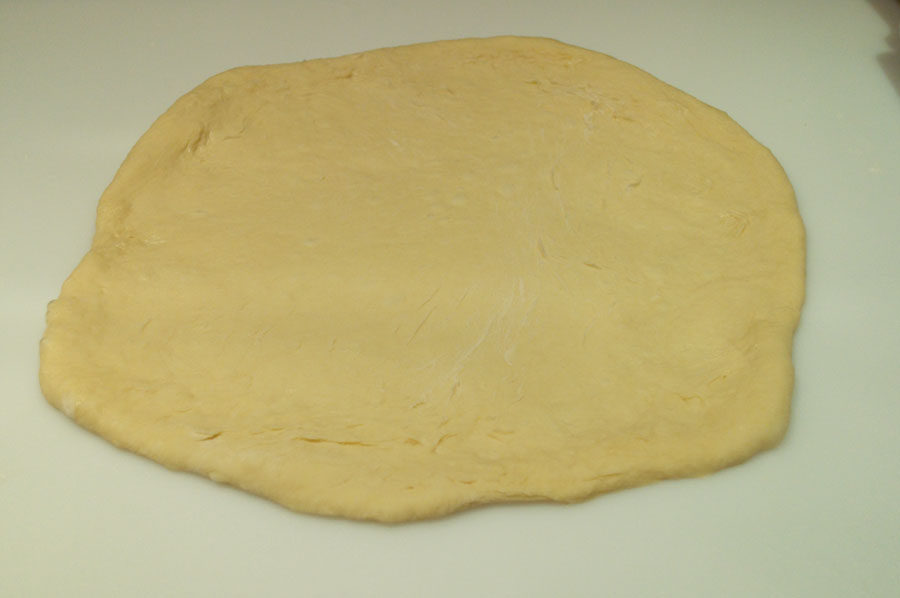
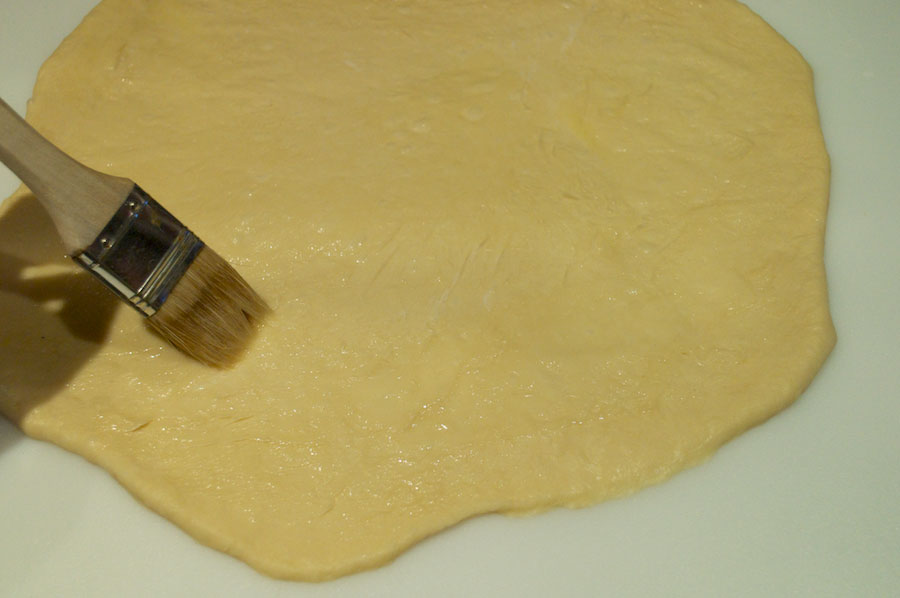

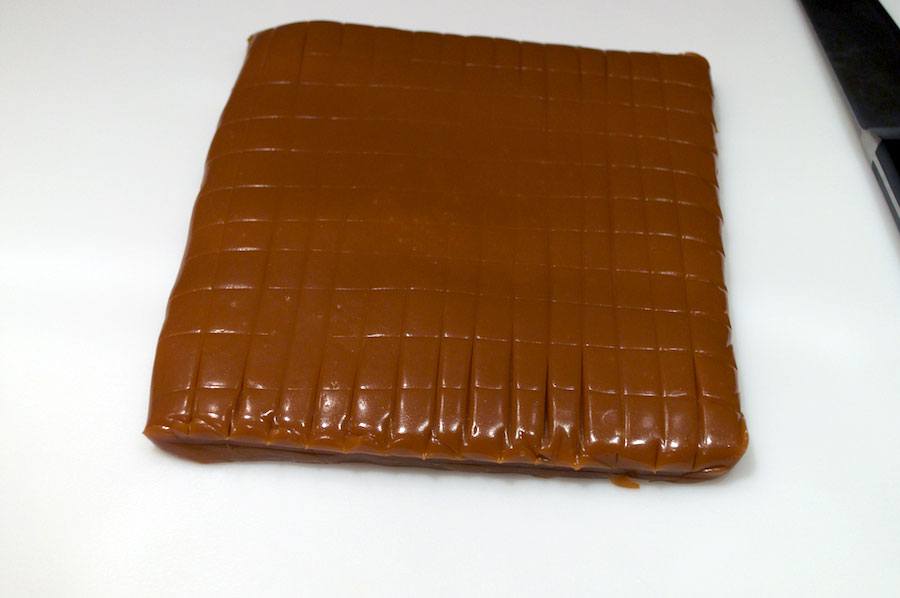
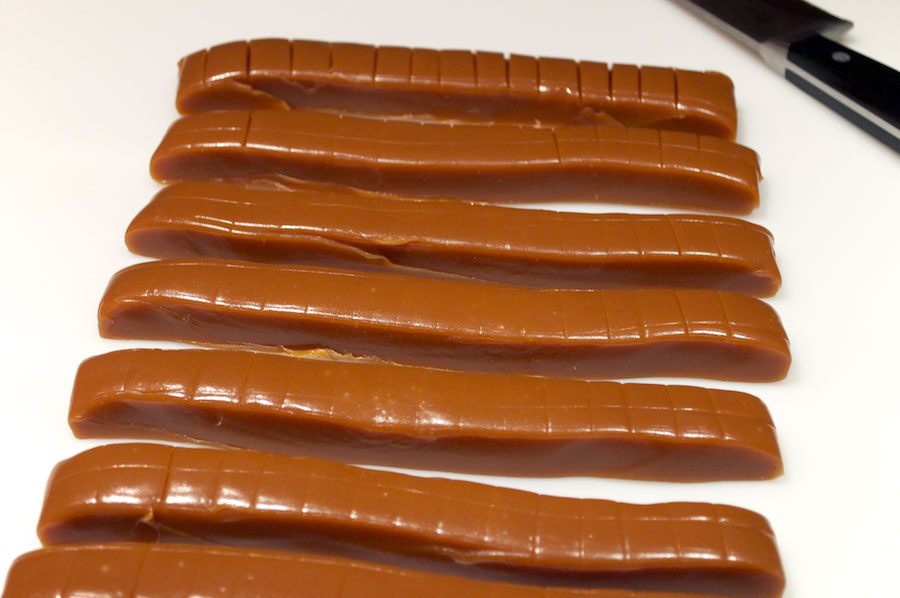
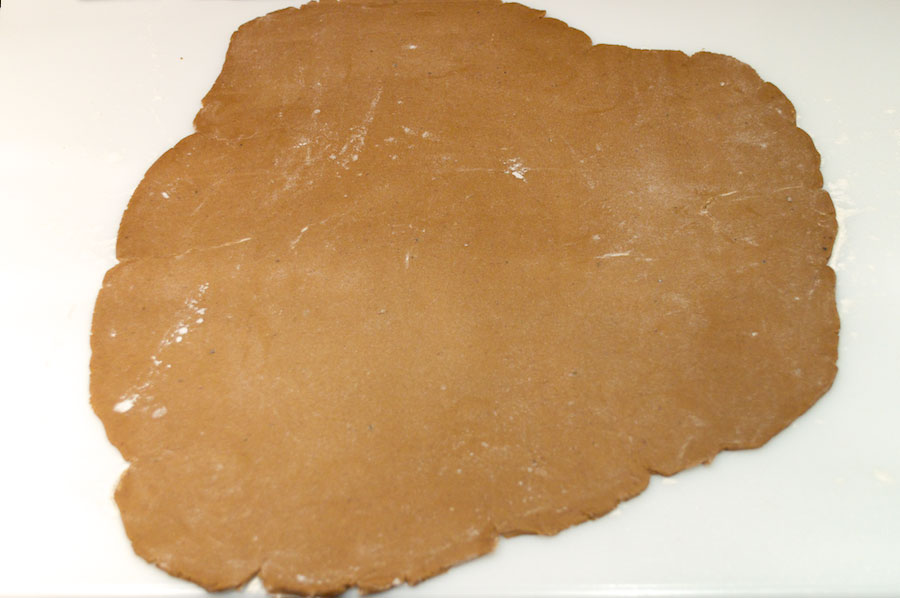
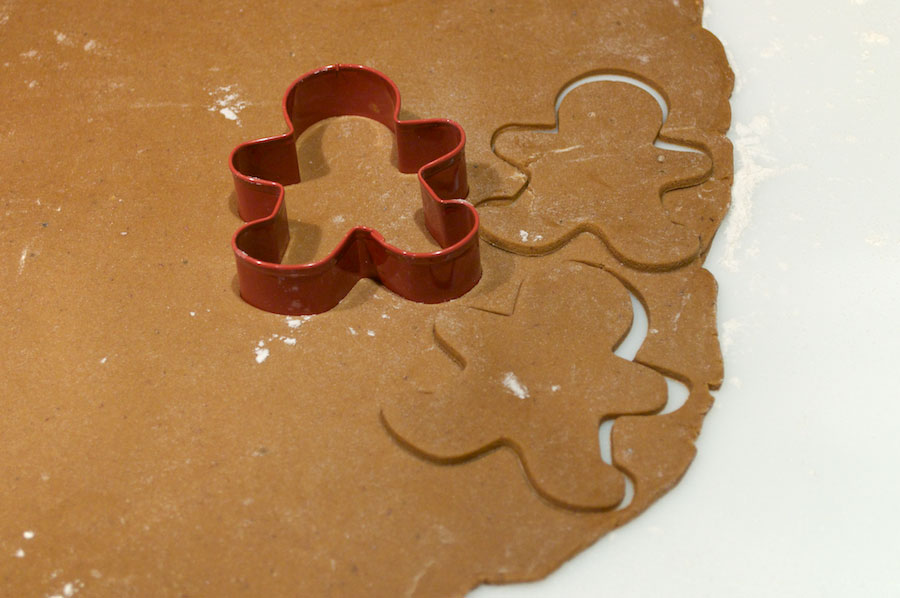
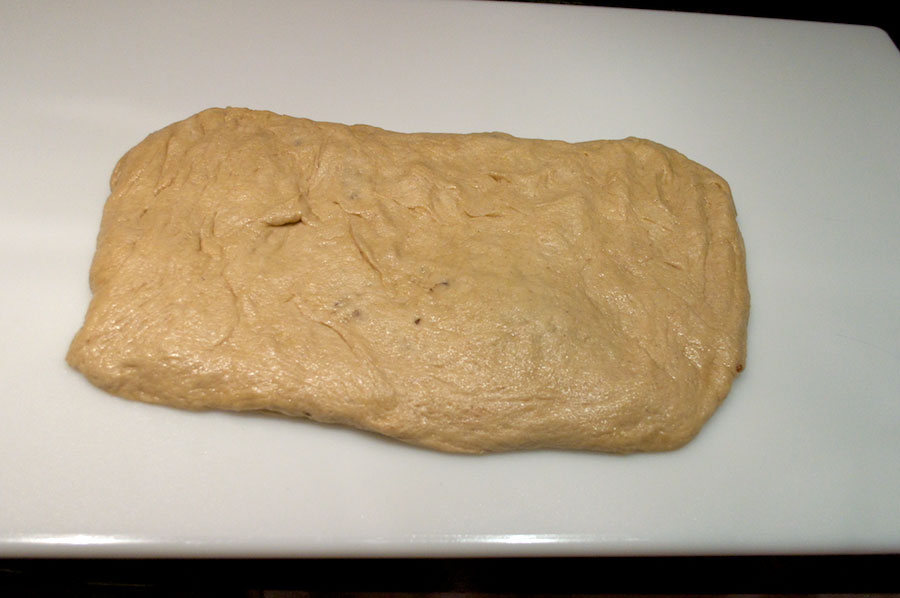
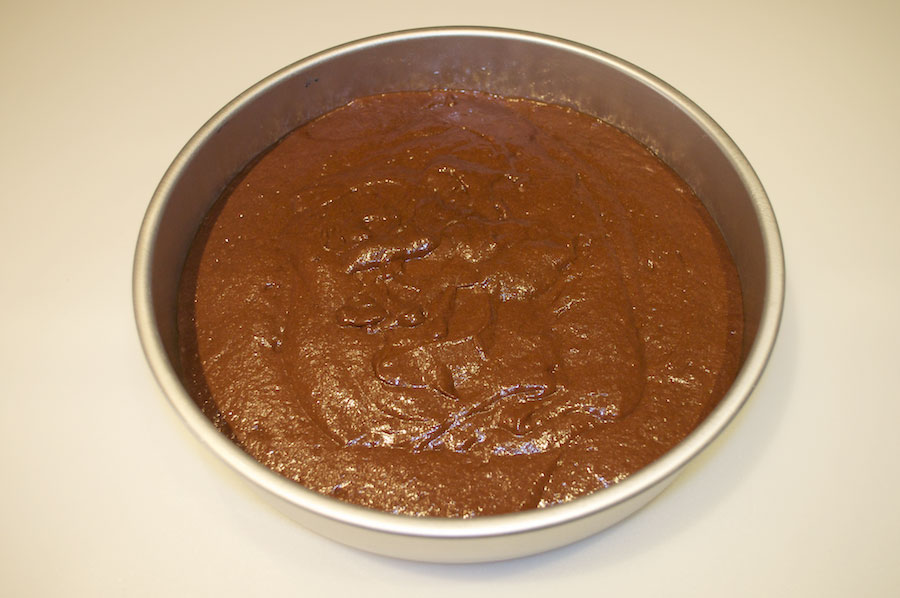
Using a third of the dough at a time roll out flat on a floured surface and lightly brush with melted butter. Using a pizza cutter cut into desired size. I cut mine into 16 pieces this time which produced nice medium sized rolls. For larger rolls cut into 8 pieces (larger rolls make great sandwich bread).
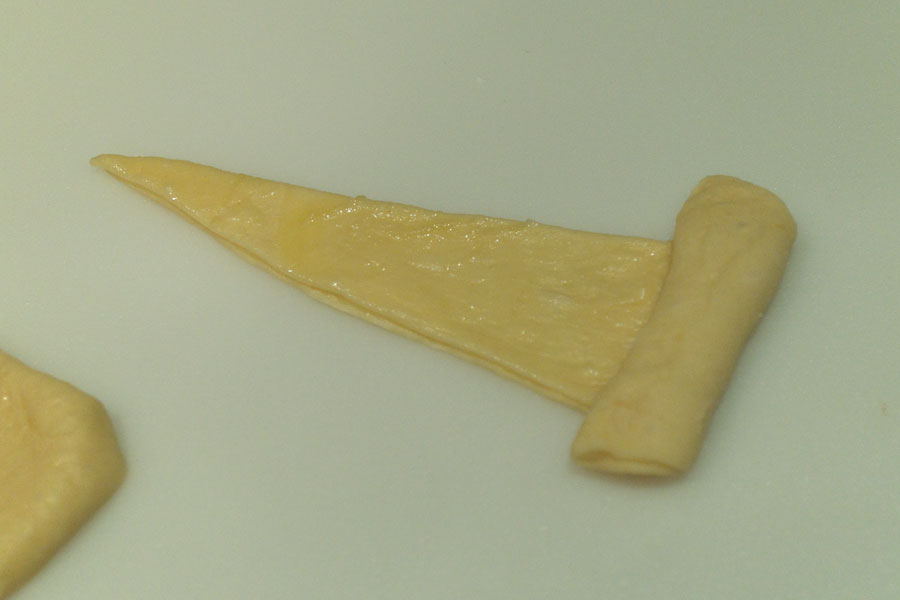
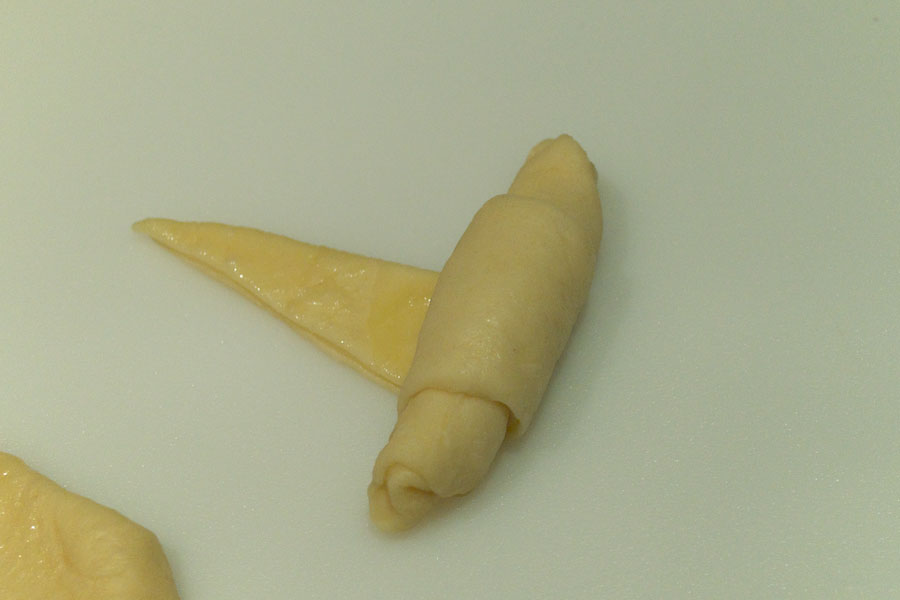
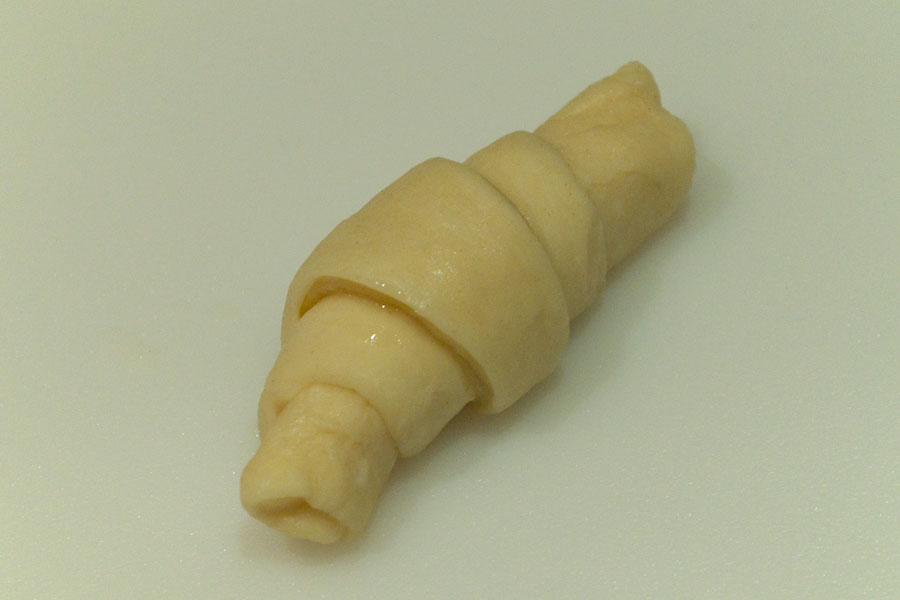
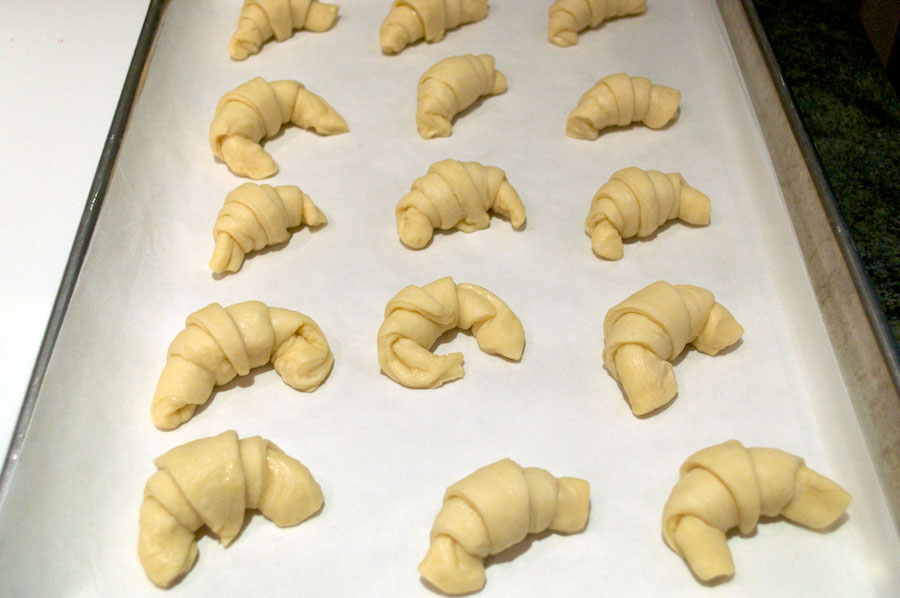
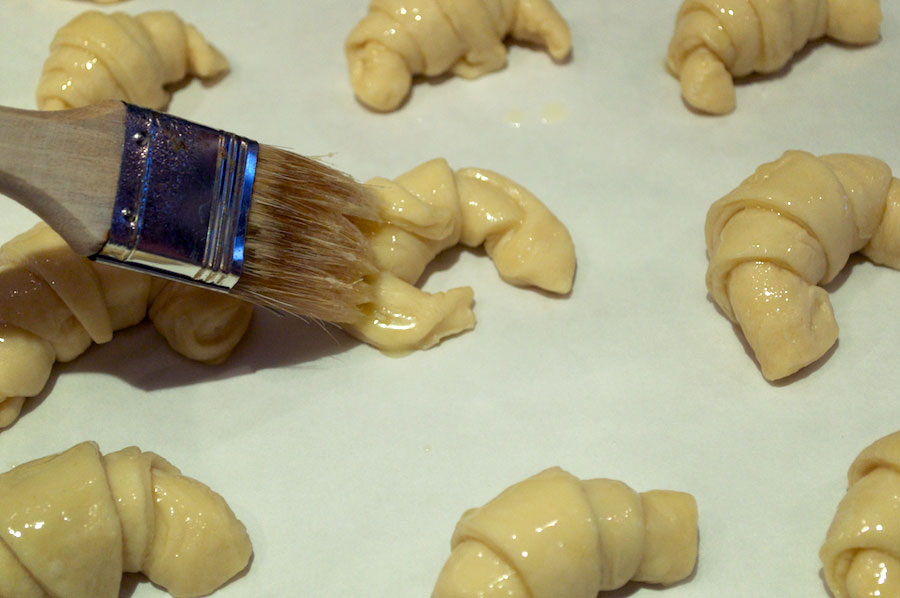
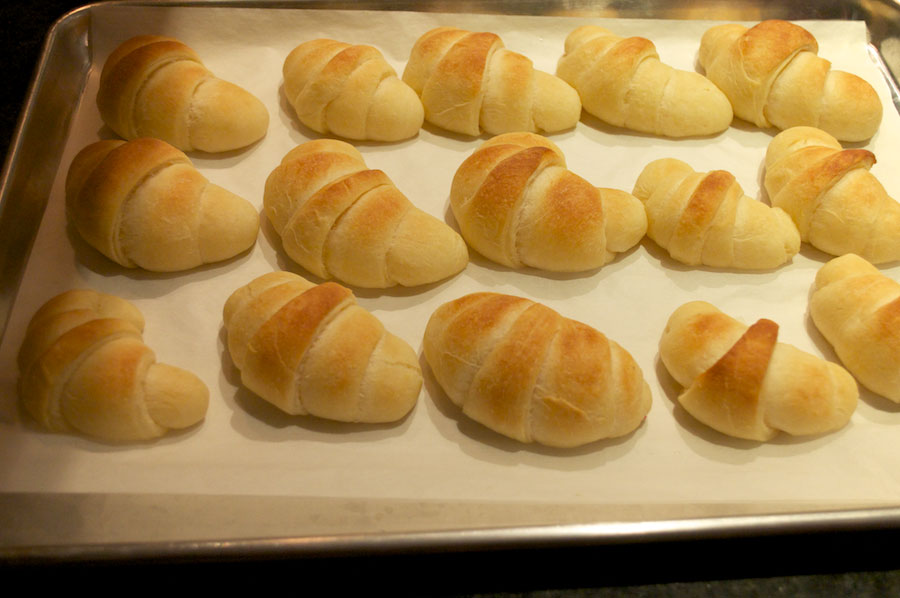
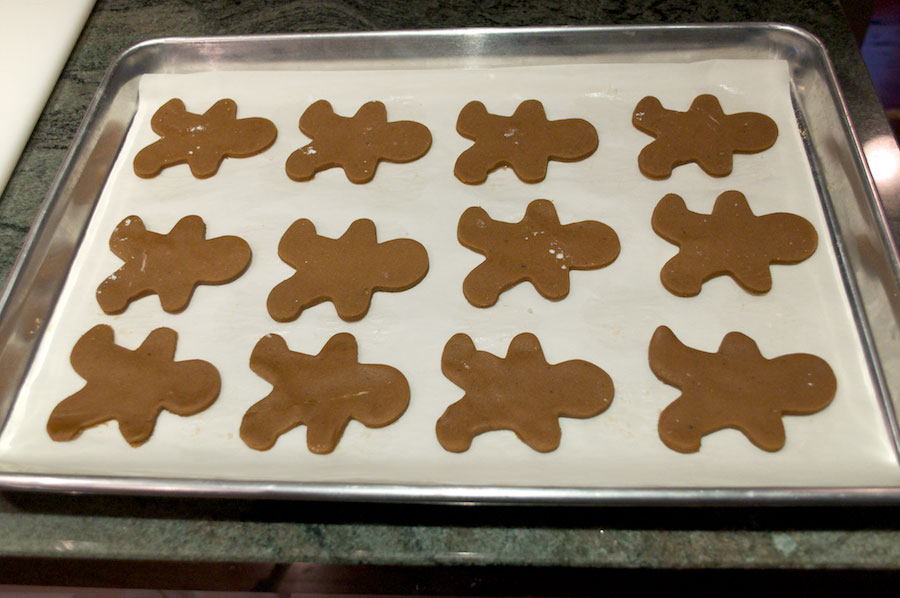
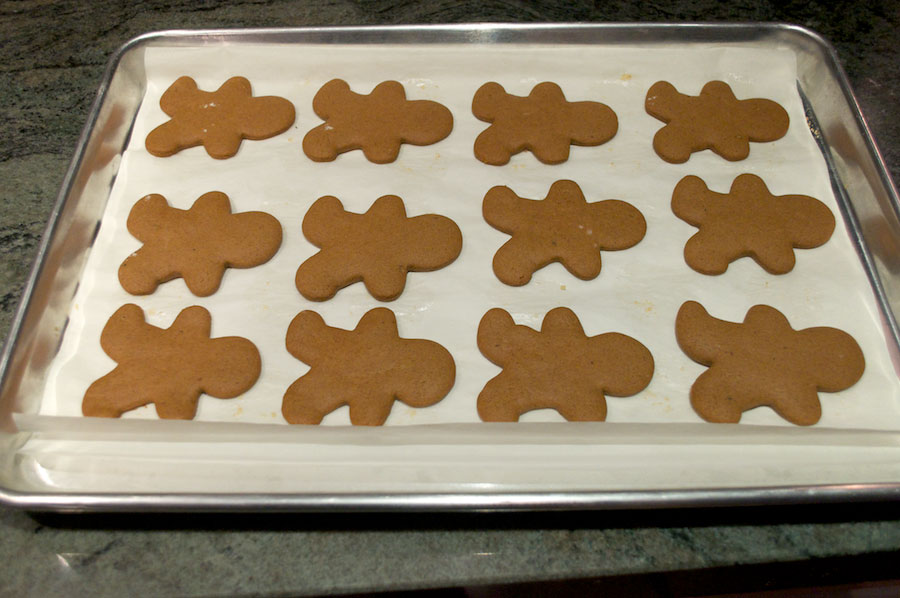
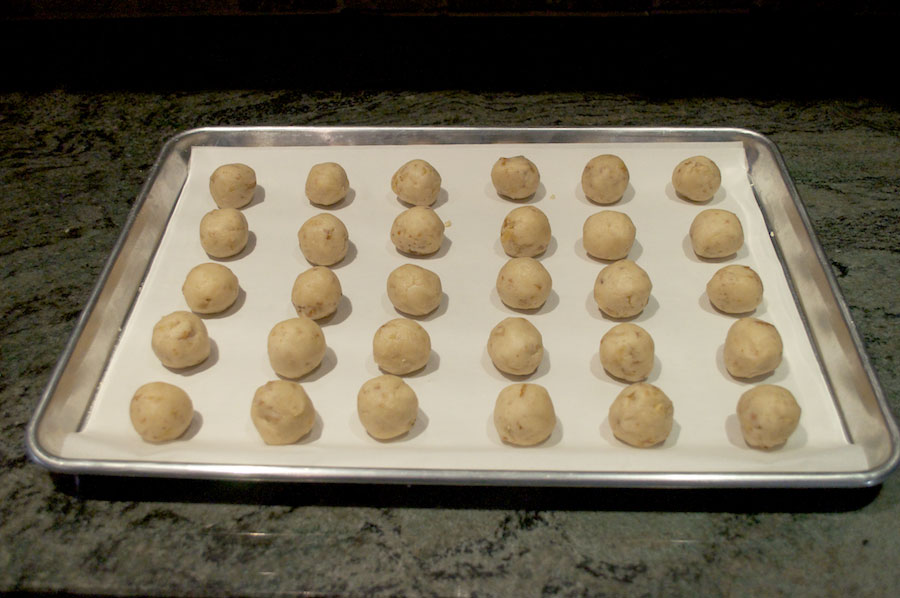
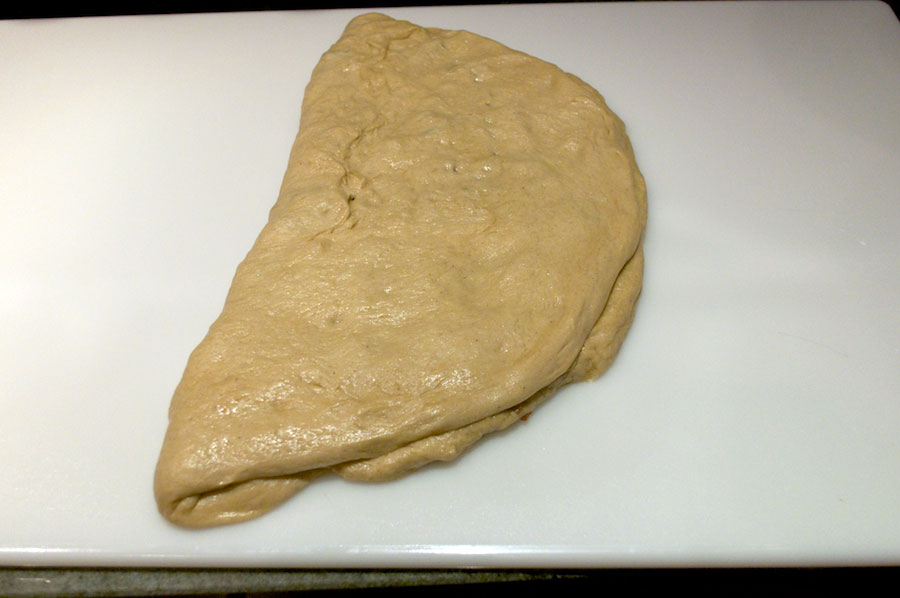
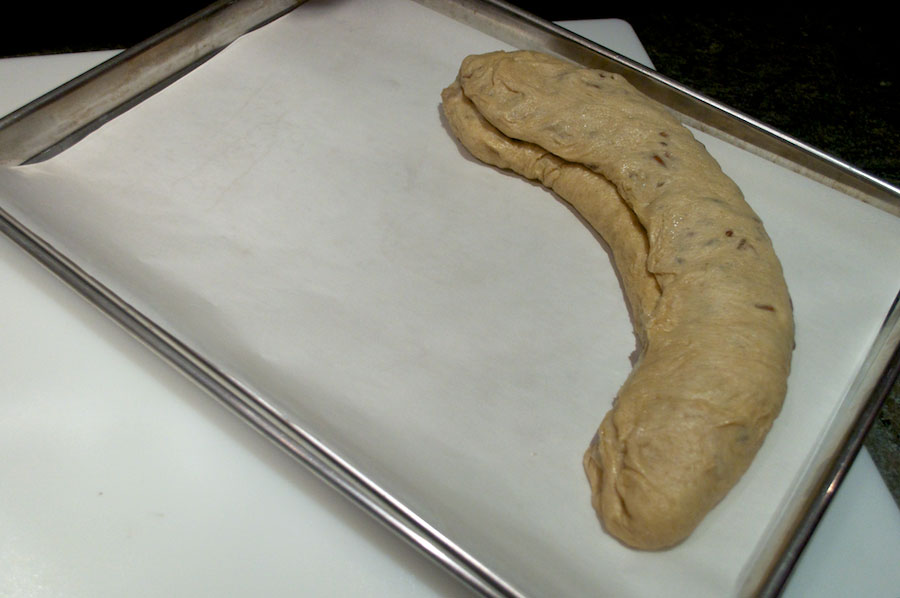
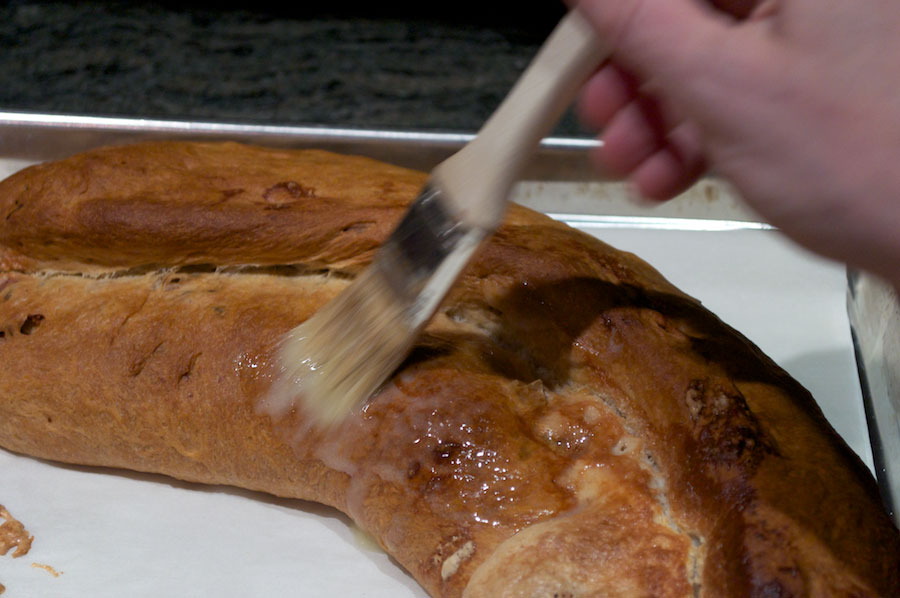
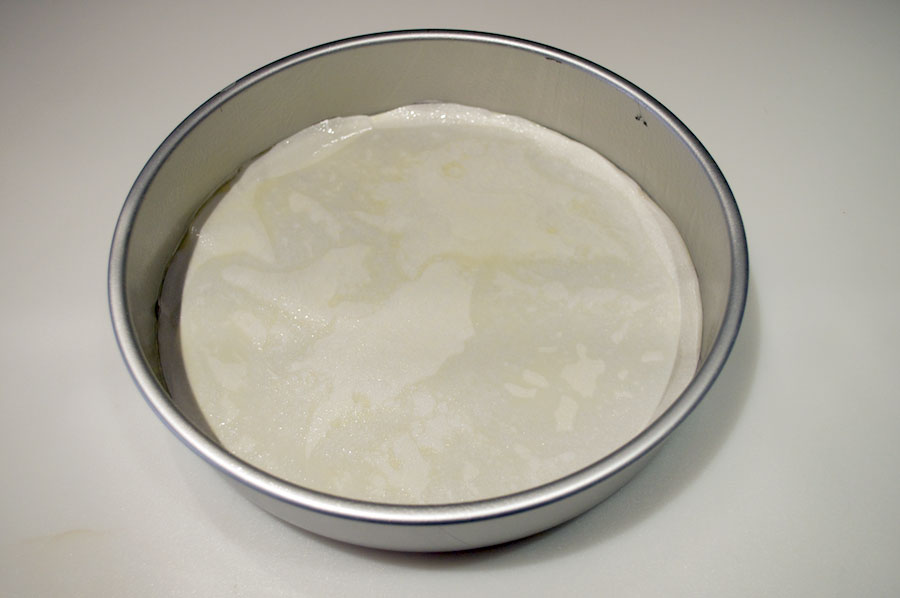
Shape the rolls by rolling them up from the wide end to the pointed end and bend the ends slightly in towards the middle on one side, brush lightly with melted butter and let rise another 1-2 hours (until rolls risen about 1 1/2 times their original size) on a greased or parchment-lined baking sheet.
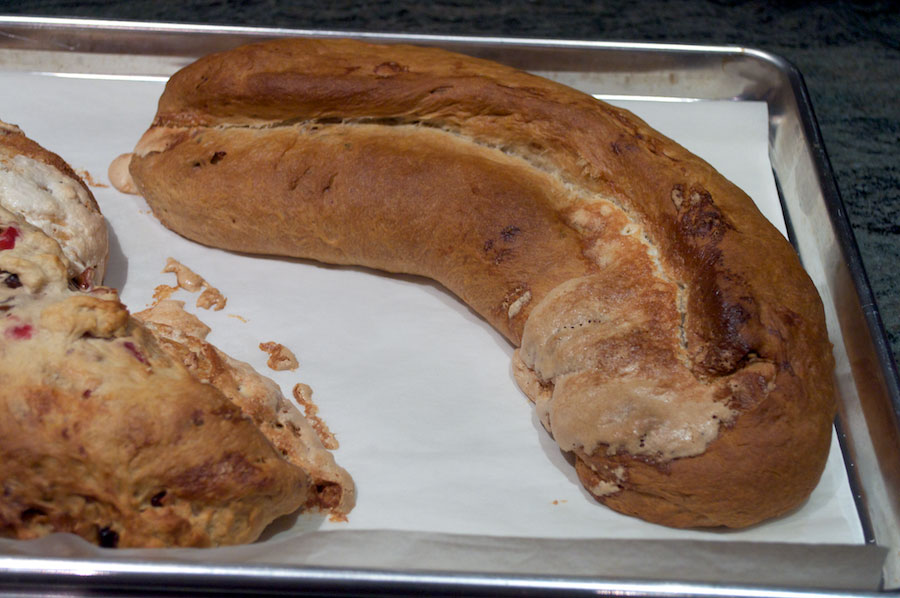
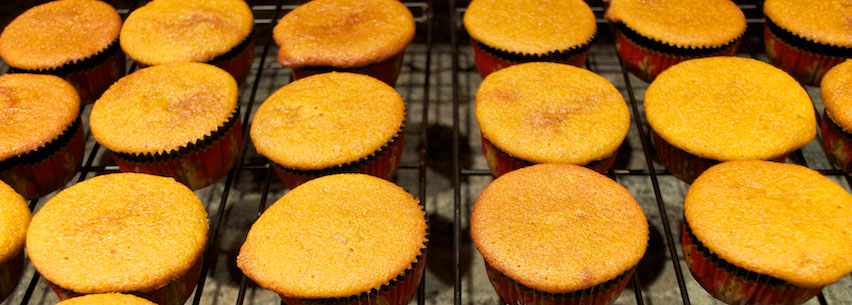
Bake at 375°F (190°C) for 12-17 minutes.
Recipe: Grandma Coombs’ Rolls
Print Recipe
Yield: 30-40 Rolls
Ingredients
- 1 packet (2 1/4 teaspoons or .25 ounce/7g) of Active Dry Yeast
- 1/2 cup (125 ml) luke warm Water
- 1/2 cup (1 stick or 4 ounces/115g) Unsalted Butter
- 3/4 cup (175 ml) Whole Milk
- 1/2 cup (3.5 ounces/100g) Granulated Sugar
- 3/4 tsp Salt
- 3 Large Eggs
- 3 1/2 – 4 cups (22.4 ounces/640g) Bread Flour OR (20 ounces/580g) All Purpose Flour
Instructions
- Combine the warm water (105°-115°F / 41°-46°C) and Yeast. Set aside.
- Combine the Butter and Milk in a saucepan over medium heat. Stir until the butter has melted and remove from heat and allow to cool to lukewarm.
- Combine the milk and butter mixture with sugar, salt and eggs in the bowl of a mixer using the dough hook on medium speed until fully combined.
- Add the flour 1 cup at a time, the dough will be sticky.
- Place the dough in a lightly greased bowl and cover with plastic wrap. Let dough rise for 5 to 6 hours, or until doubled in size. Punch down the dough, using a third of the dough at a time roll out flat on a floured surface, brush lightly with melted butter. Using a pizza cutter cut into desired size. Shape the rolls, brush the tops lightly with melted butter, and let rise another 1-2 hours (until rolls risen about 1 1/2 times their original size) on a greased or parchment-lined baking sheet.
- Bake at 375°F (190°C) for 12-17 minutes.


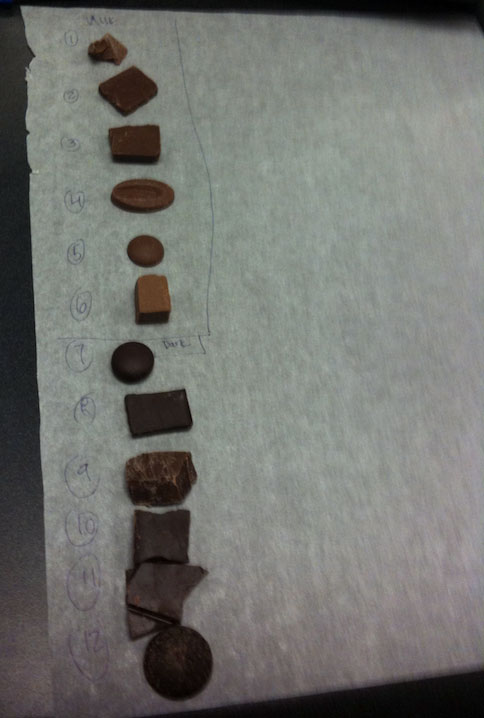 Chocolate Tasting
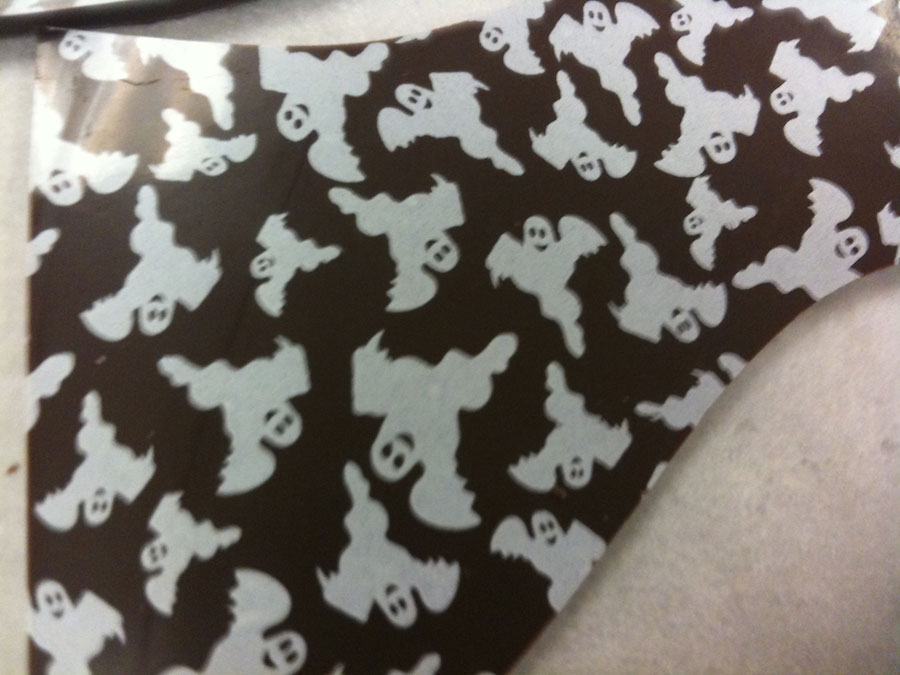 Chocolate Transfer Demonstration
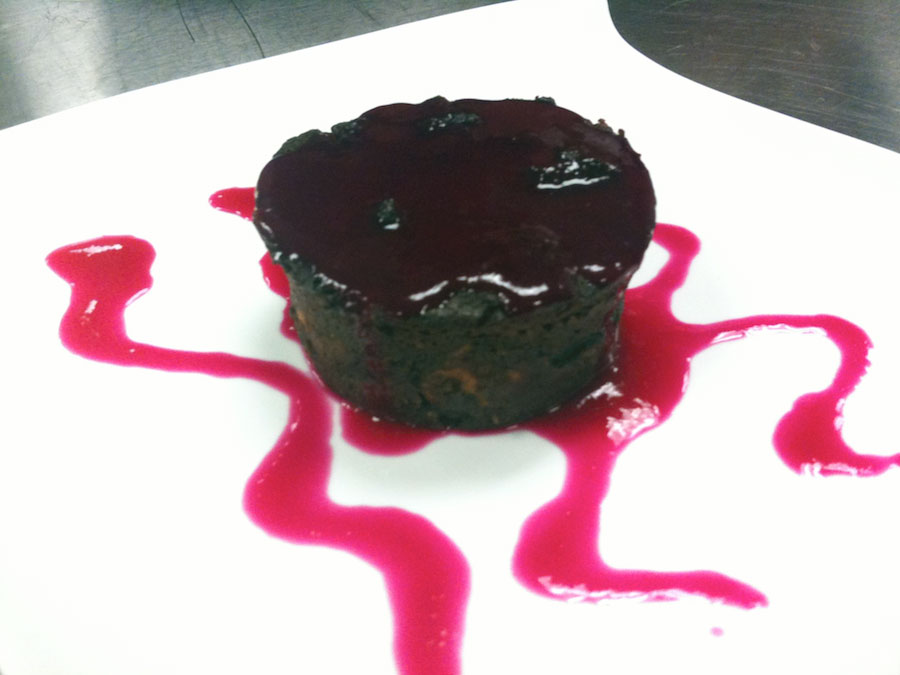 Oaxacan Chocolate Bread Pudding with Tuna (Prickly Pear) Sauce
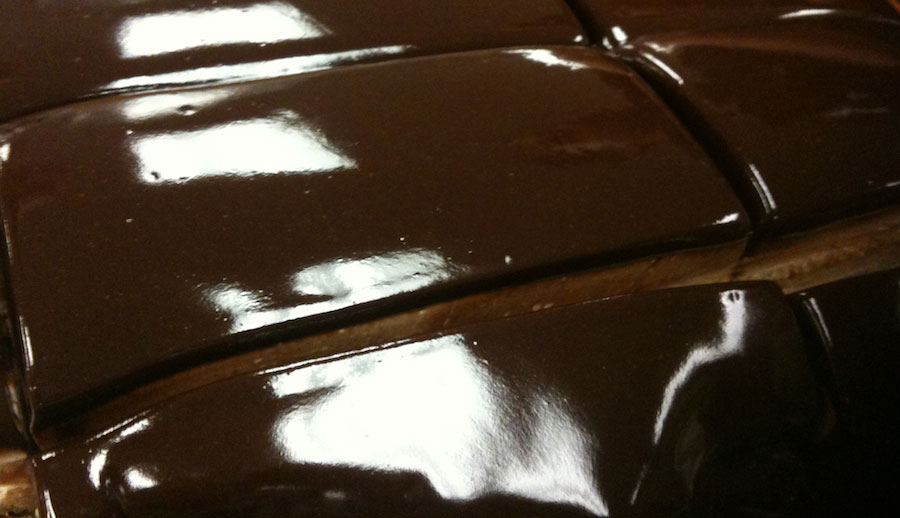
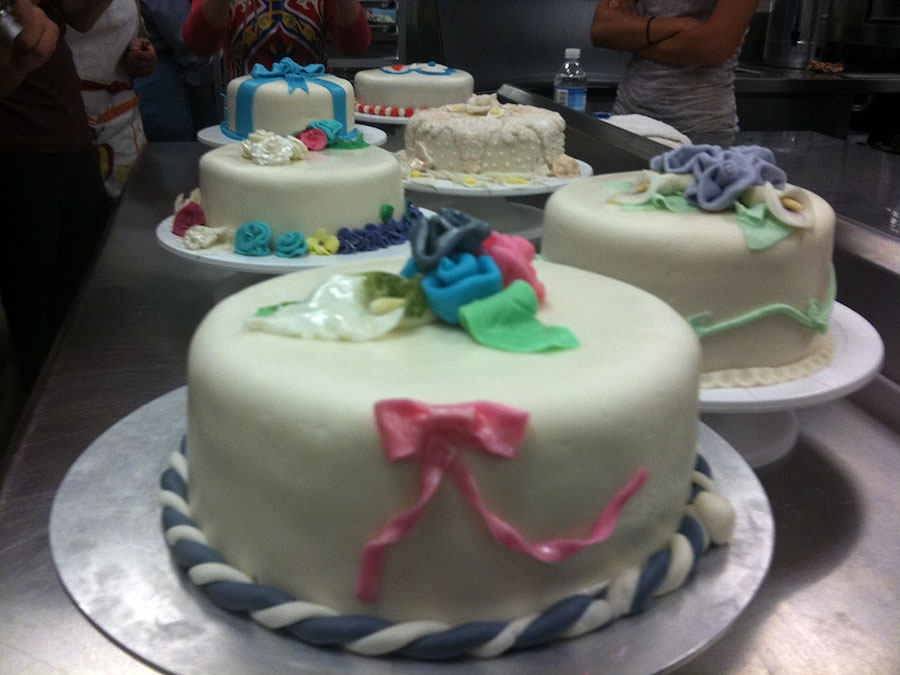 Class shot of Fondant cakes
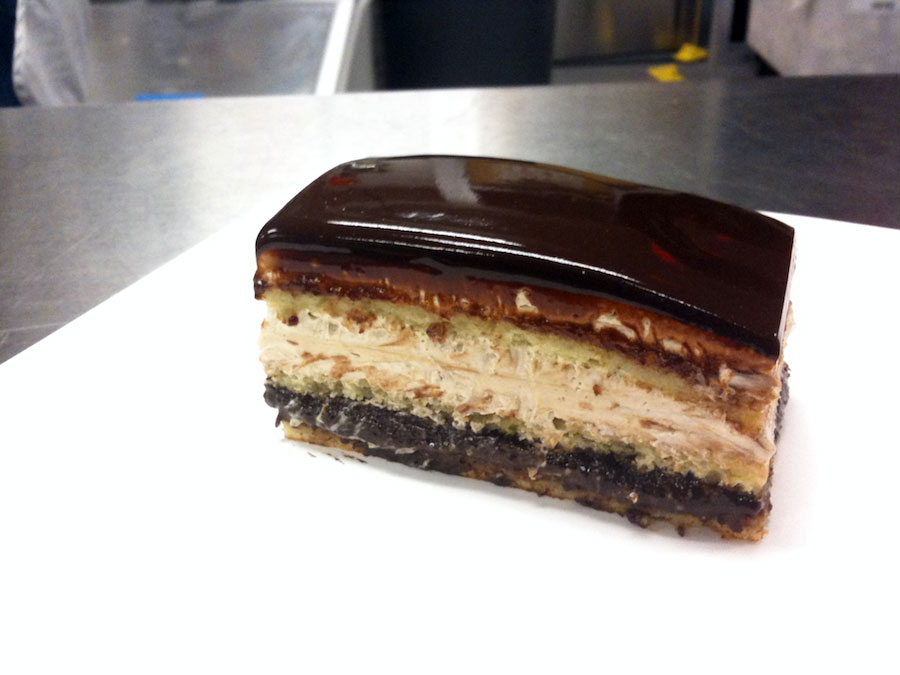 Operah Cake
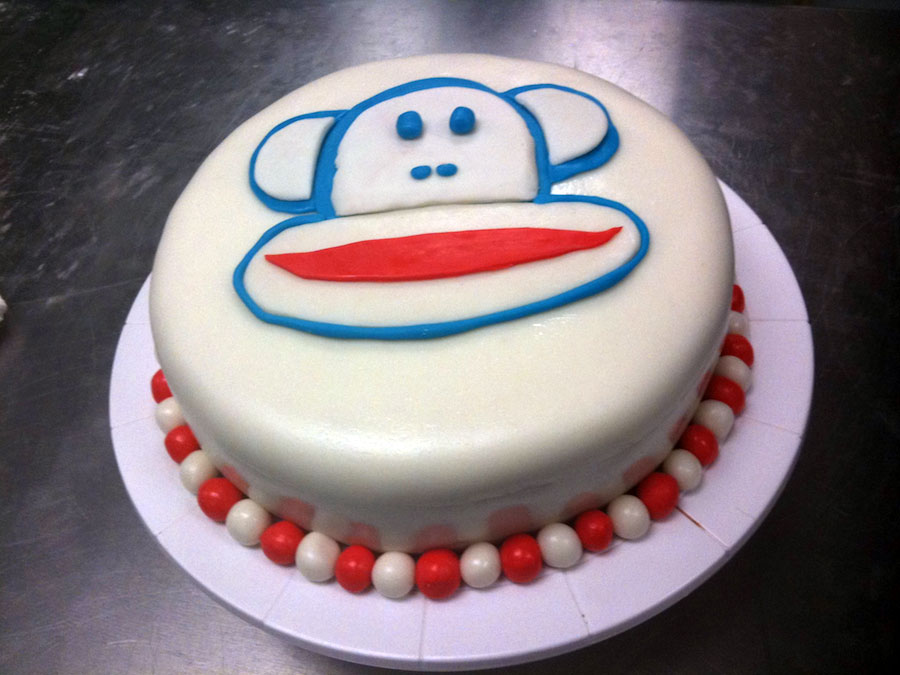 Our Groups Paul Frank inspired Fondant
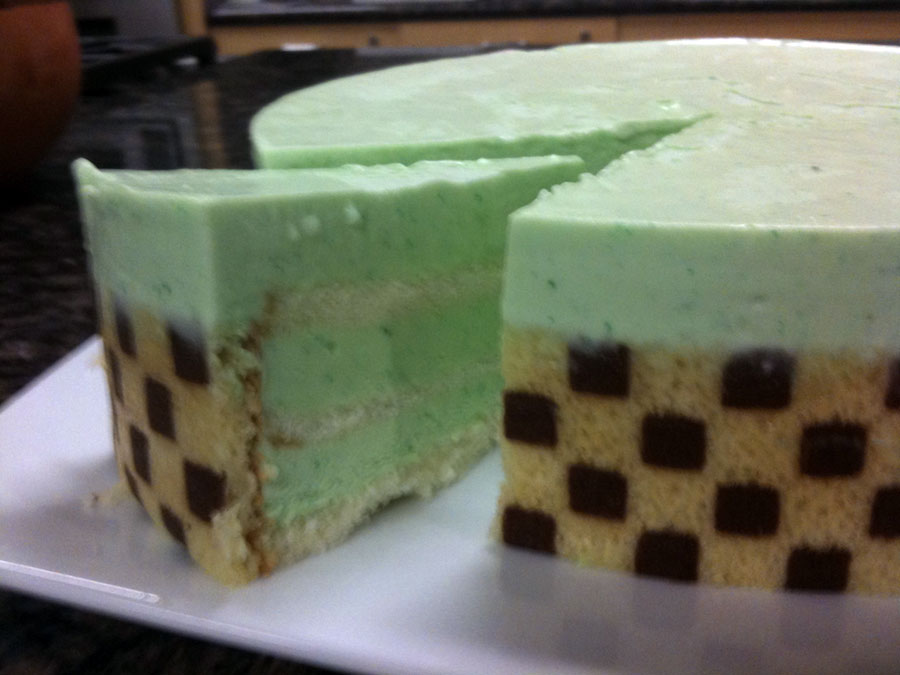 Pistachio Mousse Layer Cake